Hi there, Crafty Peeps, it’s so nice to see you here.
This week’s post is another AECP submission – my penultimate Level 2 offering – and this is for the 'Magical Marker Techniques' class led by Sarah Naumann. I have been using alcohol markers for colouring for many years now (still learning, every time) but this class introduced me to techniques I’d never tried before. My submission today is inspired by the technique demonstrated in lesson 1, using alcohol markers on metal. As always, there will be a list of supplies used at the bottom of this post.
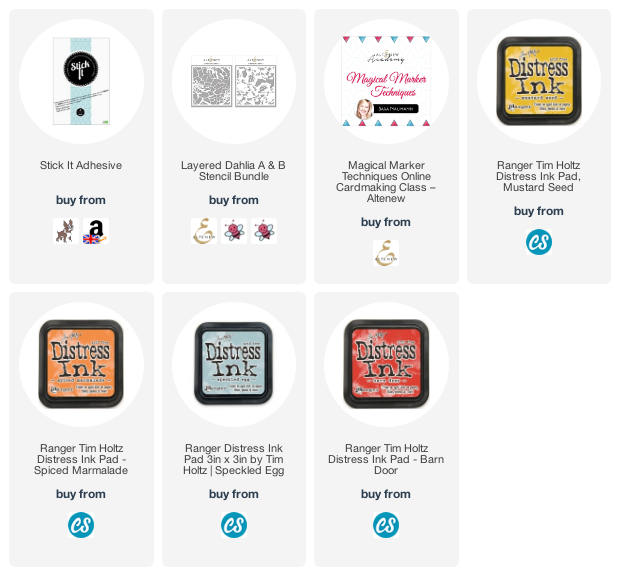
I knew I had some pewter sheet in my stash, but I didn’t want to use it for this technique as it is (1) quite heavy for a card front and (2) quite expensive! So what to do, without buying yet more supplies? Then I had an idea. I cut a piece of thinnish cardstock (only about 200 gsm/80lb weight) to 12.5 x 17.5 cm 9 (5” x 7”) and pressed it onto a sheet of Stick It adhesive, burnishing it well to the adhesive by running my bone folder over the release sheet a few times. I took a piece of aluminium cooking foil (any reasonably sturdy foil sheet will do), slightly larger than the piece of cardstock, removed the release sheet from the adhesive and gently laid the foil on top, making sure that the foil had no creases and was contacting well with the adhesive.
Tip
I trimmed the foil down to the size of the cardstock and this gave me a piece of metal foil on which to work.
I took the 'Dahlia Stencil Layer A' from the 'Layered Dahlia A & B Stencil Bundle' (you can buy the stencils separately, if you prefer) and placed this over the metal foil, securing with some tape on the top only. I ran this through my die cutting machine with the embossing plates (and some shims, to get the result I wanted). This gave me a slightly raised pattern on which to use my alcohol markers.
Keeping the stencil taped in place, I flipped it up and got to work on the colouring. Alcohol markers don’t cover smoothly on metal and you will see the brush strokes at this stage. Don’t worry, though, this won’t affect the final result.I coloured the blooms and leaves with two colours of marker each, and filled in the ‘empty’ space with pale blue. Although it is better to use strong colours for this technique, this pale blue does offer a little colour rather than leaving these spaces silver. This is how the panel looked at this point, with the stencil flipped back down over the coloured metal.
Next comes the exciting bit. With the stencil in place over the coloured panel, I used a fine spray of isopropyl alcohol over the whole piece. A few seconds elapsed when I thought maybe it hadn’t worked then suddenly…the colour broke up into the most beautiful little pools.
I removed the stencil and let the panel dry for a few minutes before trimming the edges down. However, they still looked a little ragged (the downside of using foil and not metal sheet) so I cut a frame from white cardstock and used this to cover the edges of the panel for neatness. I didn't photograph at this stage, unfortunately, but this is what the panel looked like without the border:
I wasn’t sure how to make this background into a card but my OH suggested that I use some watercolour to mimic the effect on paper. I smushed some Distress Ink colours ('Mustard Seed', 'Spiced Marmalade', 'Speckled Egg' and 'Barn Door') onto a silicone mat and picked them up with my water brush, using a wet-on-wet technique to apply colour to the edges of a square of watercolour paper. To finish I used the end my Altenew 'Pure White Ink Spray' applicator tube to apply some white splatter.
I popped up the coloured panel on some craft foam and added it to the watercoloured panel before applying this to a 17 cm (6.5”) square card blank.
This is an amazing technique and the results are really interesting. Why not give it a try and post your results to the Altenew Fan Group Facebook page? Not a member yet? I can recommend it – there are some very talented Altenewers and some amazing cards.
I hope you have enjoyed this post – why not leave a comment
to let me know you’ve visited?
Until next time, stay safe and keep crafting.
Please note that some of the links below are affiliate links and if you follow them and make a purchase I might receive a small commission, at no additional cost to you. This helps to support my blog.


This is amazing Peri; you're a genius! What a brilliant idea; not just the foil but the spritzing effect on metal too. Looks absolutely fantastic.
ReplyDeleteAh, if only the technique was my idea, Nik, but I can't take credit for that. But I did make the card and I thank you for your kind comments.
Deletegreat technique, it turned out really cool
ReplyDeleteThank you, Sandi. It is indeed a cool technique!
DeleteWhat a gorgeous card! I'm not very familiar with alcohol inks, so this gives me something to look forward to!
ReplyDeleteThank you, Kristine. You will have such fun once you start playing with them!
DeleteIncredible!! Looks gorgeous! Thankyou for submitting your beautiful work to the AECP assignment gallery.
ReplyDeleteThank you, Erum x
Delete