25 July 2021

AECP 2 - Masking Unleashed

Hi there, Crafty Peeps - thank you for popping by. 

This post comes hot on the heels of my last one, simply because I had time to play with my supplies and couldn't pass up the opportunity to complete another class. I had such fun.

This is my submission for 'Masking Unleashed', a class in which Svitlana Shayevich introduces us to various masking techniques. Masking can offer fun and cool results, and help you make the most of your supplies. I came up with two cards, the second a result of the first - a 'twofer', if you like.

Card One

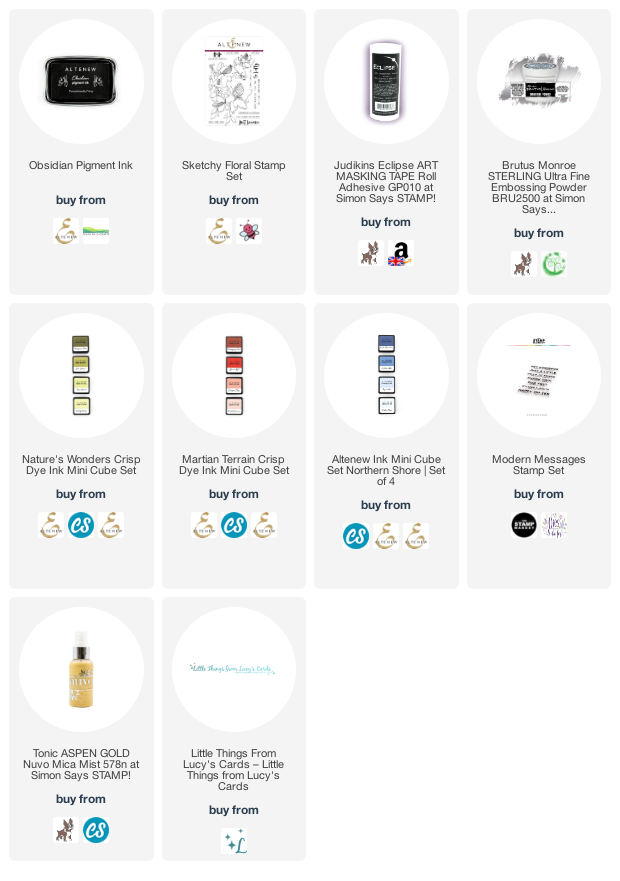
Because this was all about masking, I decided to choose the 'Sketchy Floral' stamp set to work with as there are so many different parts to cover. I started by stamping once with Wow Embossing Ink on the left-hand side of an 8" x 4" piece of watercolour paper, and heat embossing with . I also stamped another copy of the image onto Judikins Eclipse Masking Paper, which I fussy cut and placed over the parts of the flower I wanted to mask.

Then, using a stencil which was free with one of the papercraft magazines a couple of years ago, I used the 'Nature's Wonders' ink cube set to blend an ombre effect onto the watercolour paper, working vertically rather than horizontally.

Peeling away the mask is so satisfying, and the blend over the stencil looked great - just what I had imagined. There was also something quite interesting about the mask, too, so I was careful as I removed it, transferring it to another piece of cardstock for safe keeping. Great, isn't it? 

I had already decided to try my hand at 'watercolouring' the image with my Altenew inks, so for the flowers I smushed some of the 'Martian Terrain' colours onto a piece of acetate and used my waterbrush to apply the colour, though somewhat inexpertly. I did the same with the 'Northern Shore' ink set for the leaves (although I have just noticed one that I missed!) and used the darkest shade to apply some splatters across the finished panel. I wasn't happy with the result and so I played around with a white gel marker and a black fine liner to add further details, which I felt brought a little more depth than I had achieved with 'watercolour' alone. I love this colour palette, but need to practise my watercolouring some more, obviously.

The sentiment is from The Stamp Market's 'Modern Messages' stamp set. Each sentiment stamp has a main bold sentiment and a sub-sentiment in a smaller font - I chose not to use the sub-sentiment and just inked and stamped the bold 'Hey Gorgeous' portion, choosing to stamp it vertically rather than horizontally or onto a separate sentiment strip. 

There are no sequins or extra embellishments on this card, as I felt the splatter was quite sufficient. It's a shame that you can't see the silver embossing better in the photograph, as it is lovely and shiny in real life and really adds to the decoration.

Card Two


This second card was 'born' from the mask for the first. As you will see from the previous photographs, I was careful how I removed the mask and placed it on to another piece of cardstock, matching the placement from the first card. However, when I came to finish the card (my original idea being to use the mask as was but place it on to another ombre background), I felt the pattern may be too busy for the result I was looking for. So I decided to use the mask only at the top of a piece of 8" x 4" watercolour card on which I had blended a vertical ombre in inks from the 'Martian Terrain' ink set. I splattered the background with water and sprayed a little 'Aspen Gold' Nuvo Mica Mist (which I haven't been able to pick up on the photograph) over the top. I used the end of the spray tube to splatter some larger gold dots, too.


The card at this point reminded me of Christmas so what better than a beautiful seasonal sentiment from MFT's 'Hand-Lettered Holiday Greetings' stamp set, which I heat embossed in gold. I originally thought that I didn't want any further embellishment, but since taking the photographs I have added just a few gold sequins 


I would definitely try this technique again when I have another beautiful mask to use. I hope you like it as much as I do. 

Until next time, keep crafting.


Supplies:

Please note that some of the links below are affiliate links and if you follow them and make a purchase I might receive a small commission, at no additional cost to you. This helps to support my blog. 

AECP 2 - Impressive Heat Embossing

Hello Crafty Peeps, and thank you for stopping by. 

It has been a strange couple of weeks, but I'm pleased to say that I'm back on track and feeling creative again. I had a fight with a scalpel about 3 weeks ago and damaged my left index finger. In itself that wasn't a problem, as I am right-handed, but trying to do anything with a bandaged finger is inconvenient at best. Thankfully, I have healed quickly and well and am no longer waving around a big white digit! I  had exactly the same accident and injured the same finger 20 years ago, just before Christmas, and my big white finger was a great source of amusement when conducting our work's choir at our carol concert!

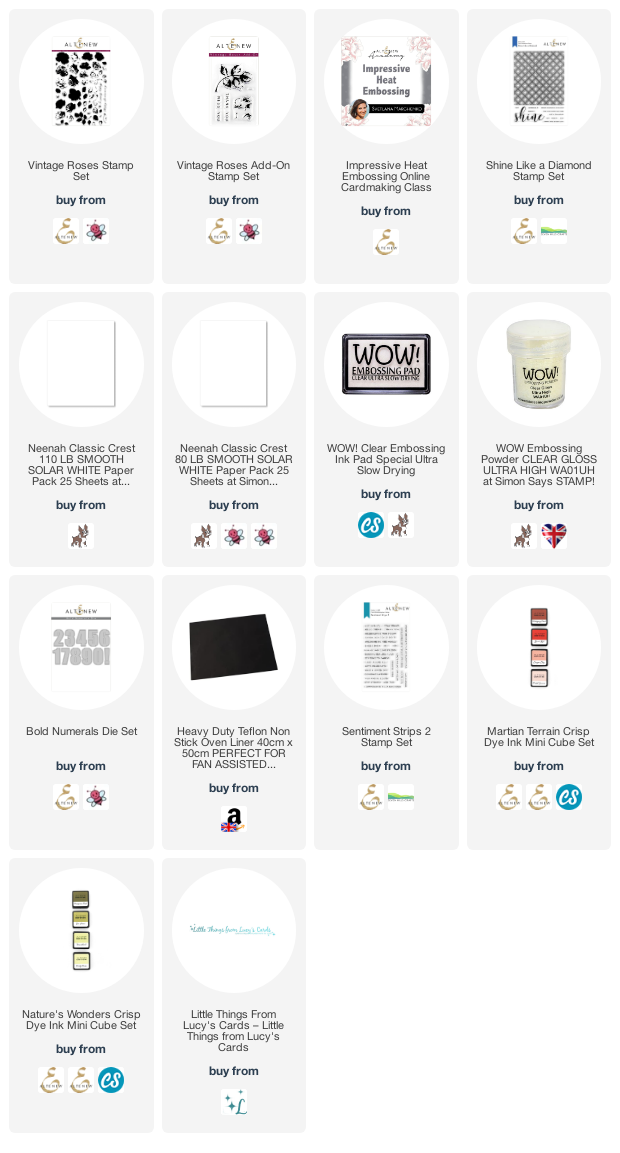
Today I'm posting my submission for the AECP class 'Impressive Heat Embossing', in which Svetlana Marchenko introduces us to some of the many ways we can use heat embossing to take our cards to the next level. This card is my interpretation of lesson 4 - Layered Heat Embossing - and I've used the 'Vintage Roses' layering stamp set for this.

As always, there will be a full list of the supplies used at the bottom of this post.


To begin, I heat embossed the 'Shine Like a Diamond' background stamp in gold onto a 6" (15cm) square piece of Neenah Classic Crest Solar White 80lb cardstock - I find that the 80lb warps less than the heavier 110lb when embossing a full background.  I trimmed to the edges of the stamped background and layered the panel with a piece of textured gold cardstock from my stash, before adding to a 6" square card blank. 

Next, I wanted to use heat embossing to create an embellishment for the centre of the card, and decided that a number 40 would work well. I cut the numbers from some 300 gsm white card (stash) and pressed my Wow Embossing Ink pad over both numbers, coating them well. I then heat embossed with a layer of ordinary clear embossing powder. Once this had cooled, I inked the numbers again and this time coated them with a layer of Wow 'Clear Gloss Ultra High' embossing powder, which melted to a thicker layer of clear. While this was still hot I sprinkled another layer of embossing powder, to build up the thickness of the numbers. Again, while this was still hot, I liberally sprinkled with gold embossing powder, which melted as the top layer of a nicely thick pair of numbers.

Tip

I advise working on a silicone mat, or something similar (I often use an oven liner sheet - see below) whilst working in this way, as the embossing powder around the object will also melt and will stick to paper, making it more difficult to remove the finished object. Once the first layer has melted, make sure that either your heat gun is on its lowest setting, or that you move the heat slightly away so that the embossing stays liquid but does not burn. If you need to clean up the edges of the finished object, either gently rub around it with your finger (once cooled, of course) or remove to a clean space of your silicone/heat mat and gently heat again and the edges should melt cleanly,

For the flowers, I stamped three of the smaller and two of the larger flowers, using the 'Martian Terrain' set of inks, which I love. For the last layer, I used an embossing ink and then heat embossed with gold, to give a little sparkle. I think it's a lovely way to add something different to an image. I don't have the matching dies for this set, although they are available, so it was fussy cutting time.

I stamped the leaves from the set using the 'Nature's Wonders' ink set, another firm favourite. The sentiment is from the 'Sentiment Strips 2' stamp set - this set is great for useful 'everyday' greetings. 

The arrangement is fairly simple, with a couple of the flowers popped up on foam squares for a little dimension. And there are sequins, of course, from Lucy's.


So there's the final card - I hope you like it. 

Until next time, keep crafting.


Supplies:

Please note that some of the links below are affiliate links and if you follow them and make a purchase I might receive a small commission, at no additional cost to you. This helps to support my blog. 

07 July 2021

AECP 2 - With a Twist

Hello Crafty Peeps, and welcome back to my corner of Blogland.

Before I start, just a warning that this is a long post, with five card descriptions.

Today's post is another AECP Level 2 submission, based on Therese Calvird's class 'With a Twist'. In this class, Therese demonstrates several ways to take an alternative look at the supplies in your stash, with new ideas for getting more out of your current supplies. It is a useful exercise and a lot of fun, too!

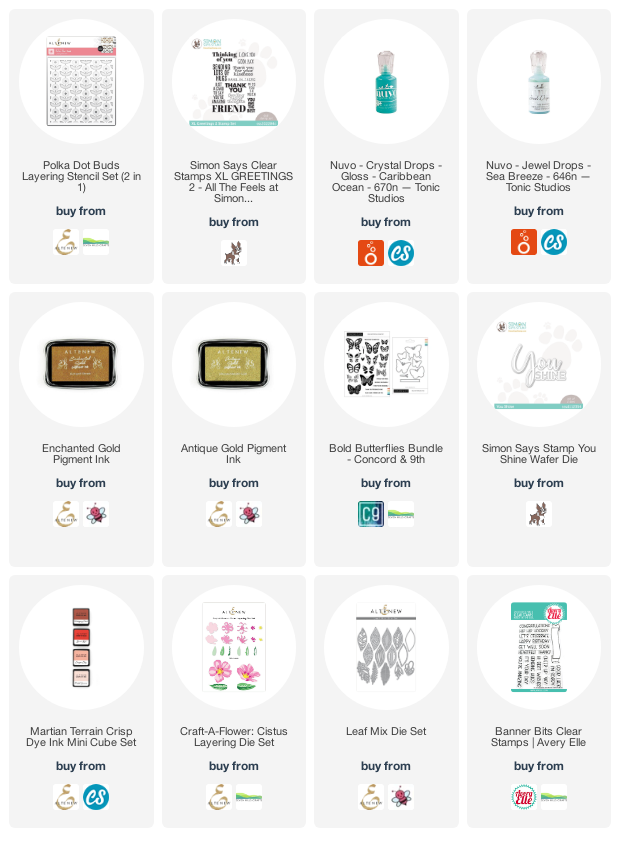
Whilst Therese's projects use Altenew's stamps, I chose to use a layering stencil for my submission and one of my favourites is the new 'Polka Dot Buds' two-layer stencil. As you will see, the stencil is split into two parts - the large, regular polka dot pattern and the leaf and small polka dot pattern. I thought it would be fun to use the two layers not only together but separately to see what results I could get. 

A list of all the supplies I used (for those I know, at least) is at the end of this post, as usual. 

Card One

For this card I used the stencil in its intended form. I used inks from my stash - mostly Lawn Fawn and Nuvo - as my Altenew inks have been used so much they are drying and need to be reinked. I love the sunflower vibe from the bright orange and green. 


The only 'twist' I put on this card was to cut out a square in the middle to frame the sentiment, which comes from a Simon Says Stamp set called 'XL  Greetings 2 - All the Feels'. I used a little frame die from my stash (which I think might have been a freebie, along the way) to cut the square, and used the narrow frame around the sentiment. 

This is a 6" x 6" (15cm x 15cm) card base and I cut down the stencilled image a little smaller to leave a narrow white border around the card.

I popped up the outer frame on some fun foam for dimension, and made a co-ordinating envelope to finish. 

Card Two

Originally I was going to simply use the stencil with a different colour way, and the result was quite lovely. But I had an idea to mimic the flower shape to add to the card, and this is what happened!


Apologies for the photography - I didn't get decent shots because this card was rushing out of the door to its recipient! The blues are quite vibrant in real life.

Again, I used a little frame die (part of the same set I used for card one) to cut out the centre, and the same stamp set for the sentiment. I popped up the outer frame on some fun foam for dimension and used the little frame around the sentiment on the card front. I added some Nuvo Crystal drops in 'Caribbean Ocean' around the sentiment and some 'Sea Breeze' Nuvo Jewel drops around the flower centres. 

I am on the bench about this card - perhaps it would have worked better if the flowers I made had been a little smaller.

Card Three

For this card I used only the leaves and small polka dot layer of the stencil. I inked the leaves in the intended direction in a darker green ink, and added the dots in a dark grey. Then I turned the stencil around, lined up the 'stalks' and then inked the leaves again in a lighter green.


I had the feeling of wings when I looked at the finished pattern, so I heat embossed a little butterfly onto vellum as the only embellishment for the card. The stamp was from the Concord & 9th 'Bold Butterflies' set and I inked it in black then embossed it with a holographic powder from my stash.

Using the same sentiment stamp set I stamped 'Thinking of you' in simple black on white. I die cut the sentiment and then also die cut again three times from white card, inking up the edges with the colours of ink I had used, and offsetting each layer behind the sentiment for an extra detail. 

Card Four

I thought the solid shapes in this stencil would lend themselves to heat embossing, so that was the focus for my next card. I rarely use black for my backgrounds, so this was an opportunity to do something completely different. 


I used Altenew's gold pigment inks - 'Enchanted Gold' for the large polka dots and 'Antique Gold' for the leaves - and laid down a solid layer through each layer of the stencil with a foam applicator. I then used clear embossing powder to set the ink and preserve the two colours of gold.

All this card needed was a simple, bold sentiment - I used Simon Says Stamp 'You Shine' die and cut this from gold mirror card. I also cut three small stars from the same cardstock, to act as little highlights.

A pale gold envelope finished off this striking card - I'm really pleased with the end result. 

Card Five

My final card in this set uses only the large polka dot layer of the stencil and I used Altenew's 'Martian Terrain' ink set to ink an ombre background.


I created flowers and leaves using Altenew's 'Craft-A-Flower: Cistus Layering Die Set' in co-ordinating colours, with pops of gold. I also cut additional leaves from vellum using Altenew's 'Leaf Mix' die set, and used a die cut frame that I had left over from another project. I played around with the elements until I had an arrangement I was pleased with and then stuck everything down, using foam dots to lift the centre flower for dimension.

I used a scrap of orange cardstock and gold embossed a sentiment from Avery Elles' 'Banner Bits' sentiments stamp set to finish.

Well, that's it, five very different ways to use the same stencil - I think that's quite a twist, isn't it? And not a single sequin in sight!

Thank you for your time, Peeps. Until next time, keep crafting.


Supplies:

Please note that some of the links below are affiliate links and if you follow them and make a purchase I might receive a small commission, at no additional cost to you. This helps to support my blog.