Crafty Peeps, thank you for popping along to see me.
Today’s is a special post as it is all about the final
challenge for my AECP Level 2 certification. It will be a long post so I have
divided it into two sections – you can see section two, Altered/Upcycled Item,
by following this link.
In
addition:
- Select any 3 components from the classes in
Level 1 and 2
- Explain the components I have chosen
- Share any design tips
My blog post must include a detailed step-by-step photo
tutorial and/or YouTube video (still my nemesis, I’m afraid) and there must be
a minimum of 10 photographs of the cards and project.
Not much to do then!
My first task was to decide which components I would include
from the 20 classes I had taken so far. I love colour, so one of them had to be
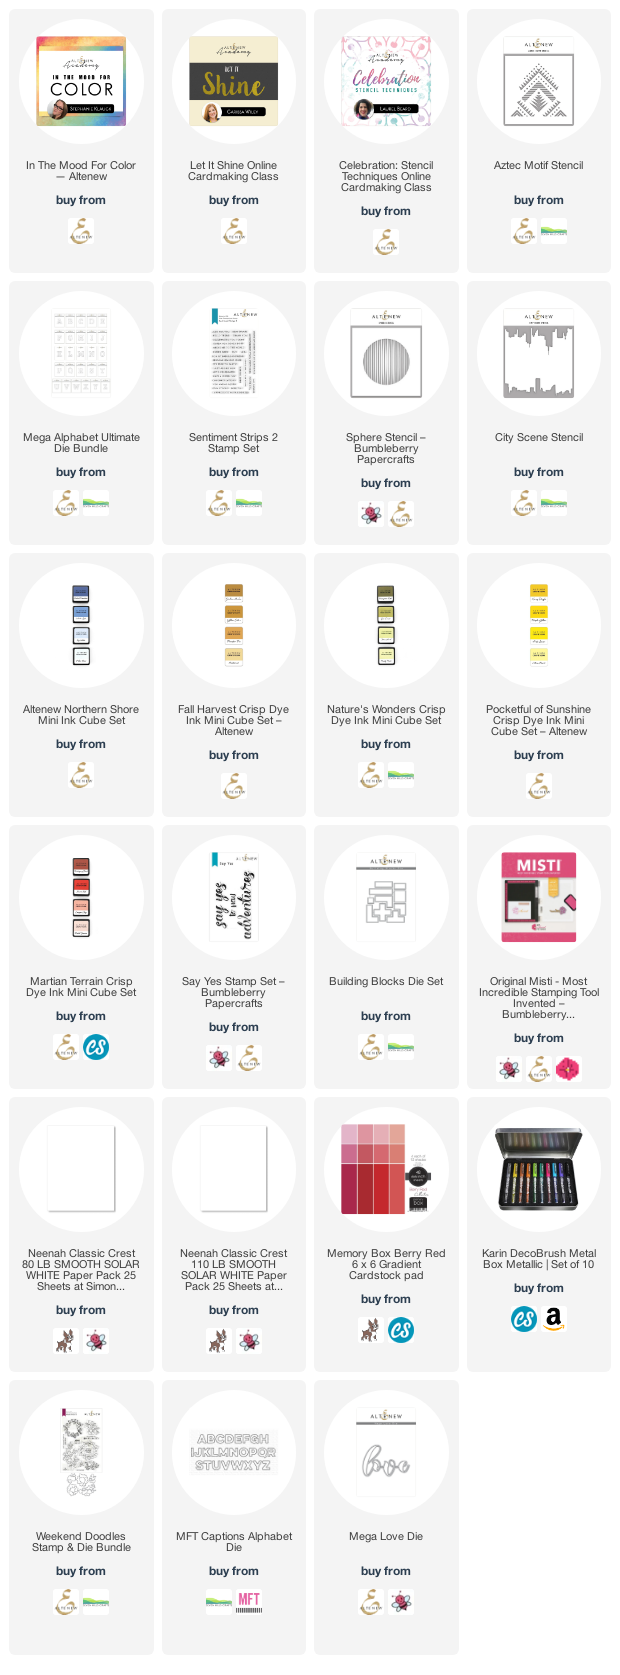
‘In The Mood for Color’, from which I
learned how colour really affects the feeling of a card and the message it
sends.
Second was ‘Let It
Shine’ – where would we card makers be without a bit of bling? A simple
thing like adding a little sparkle can lift almost any card to the next level.
It can provide an easy win when your mojo is flagging, and there are so many
interesting ways to use the various shiny products in your stash.
And third I chose ‘Creative
Stencilling’ because I love stencils! I love the ease with which stencils
can change the feel of a whole card or project: got a climbing flower that
looks a little lonely on the front of a card? Then stencil a trellis or a brick
wall for it to climb up and you have instantly boosted your card to the next
level.
Of course, it’s not possible to create without using
elements from other classes: layering stamps, making your own backgrounds,
inking tips and tricks, and much more along the way. The 20 classes have provided
such a lot of brilliant tips and techniques.
My next task was to look through my Altenew collection to
see what inspired me. I chose to interpret the brief as 4 cards that someone
would send to a partner at different times of the year so I didn’t want to make
the cards into a set, i.e. have them all look somehow related to each
other. That made it easier to pick the
stamps and stencils I would use, and gave some scope for design.
Card One – Happy
Birthday
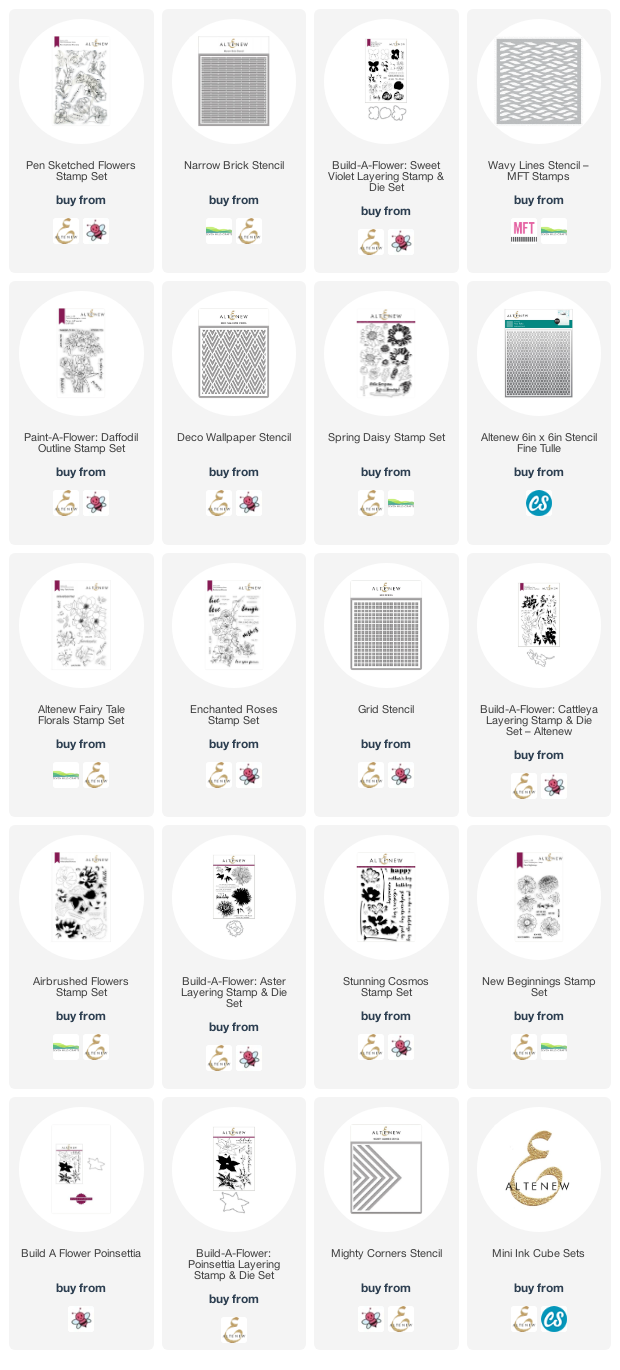
The first card I made was the birthday card. I chose the ‘Aztec stencil’ for this as it is
beautifully graphic and a great pattern to repeat across a card front. Using
masking tape/Post-it tape, I masked off parts of the stencil as I applied ink
with finger daubers for a little more control and used my favourite ink sets to
apply bold colour. I was happy with the result – it really popped, as you can
see.
I used Altenew Mega Alphabet dies H and B to cut out the two
large letters. I also cut an additional three of each of the letters from white
card and stacked these together before adding the stencilled letters on top.
Tip:
When stacking die cuts
for dimension, cut the extra layers in white card, stack them together and
then, before adding your top layer, take an ink pad that matches or coordinates
with your top layer and ink all around the edges of the stack. There will be no
white edges showing around your stack.
I originally wondered whether I should make an eclipse card
but I wanted a bit more contrast between the letters and the background so I
inked the stencil again with Sea Glass ink. I also cut another set of letters
from gold mirror card from my stash as I wanted to offset the H and B to give a
little more interest to this simple design.
Tip:
When inking/stencilling/stamping
for a background like this, always ink a piece larger than you need. It allows
you to pattern match with the background more easily – see below.
When I inked the stencil again in Sea Glass Ink, I made sure
to ink a piece that was larger than I knew I would need in the end. The reason
for this is that I wanted to match my letters to the pattern underneath, but
didn’t know how much of the stencil I would need to do that. So inking a larger
piece gave me options.
I added the top layer to my stack and then tried the letters
against my background, making sure to line up the patterns. I lightly drew
around the letters to give me placement then offset the letters against the
gold card. It wasn’t until I had everything glued in place that I realised the
offset was to a different side on each letter! But, go with the flow – it’s
actually okay and it shines!
My final step was to stamp and heat emboss a sentiment from
Sentiment Strips 2 to place across the two letters. I chose ‘Have a super day’
and embossed it in white on medium blue cardstock from my stash. A
co-ordinating envelope finished this off beautifully.
Card Two -
Encouragement
My second card was the encouragement card. For this I used a
combination of bright yellows and pink, with black contrast, for a happy and
graphic feel.
I first blended ‘Citrus Burst’ ink onto a 4.25” x 5.5”
piece of Neenah Solar White 80lb paper with my blending brushes to give all
over coverage. Then I swiped my ‘Honey Drizzle’ ink cube across the paper to
leave streaks of darker yellow from side to side, for a little visual interest.
I used the Sphere stencil and some
Canyon ink to create some sunset interest in the centre of the panel before
using the City Scene stencil and some Memento Tuxedo Black ink to lay down the
city scape across the bottom of the panel. I added a second city layer in grey ink for extra depth.

I chose to extend the black area
down the card to give somewhere to show a little reflection by swiping a white
pigment ink pad gently downwards from what I determined was the base of the
city buildings, first masking a straight line with some wide Post-it tape.
I chose the sentiment ‘Say yes to new adventures’ as I felt
this card represented something fun and new and exciting – the yellow really
pops. I stamped the sentiment in black Versamark pigment ink and heat embossed with clear powder.
A few gold crystal gems added some extra sparkle and a co-ordinating
envelope finished this brightly‑coloured card.
Card Three -
Anniversary
Card number three was my anniversary card and I was excited
to use my Blocks die set for the first time.
From some thin copy paper I cut
three sets of blocks – because the paper was so thin I was able to layer the
sheets together and cut all three sets at once. In the back of my sketchbook I
worked on arranging the pieces until I had made a complete rectangle with the
blocks, and I used this as my guide whilst making the card itself.
Rather than cut blocks from several different colours of
cardstock, I chose to cut two complete sets of blocks from Neenah Classic Crest
Solar White 100lb paper and then coloured each block using my finger daubers
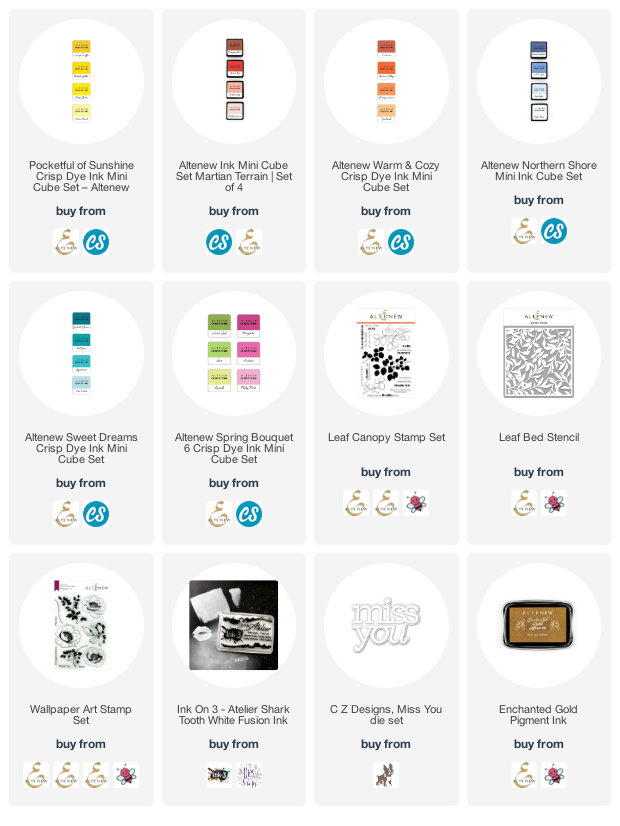
and Altenew inks from the Martian Terrain, Northern Shores, Natural Wonders and Pocketful of Sunshine
mini ink cube sets. I cut an extra piece in gold mirror card from my stash and two
further ones of the same shape in white card, which I layered with the gold for
dimension.

Using the pattern I had made as a guide (with just a couple of adjustments), I used the
corner of my MISTI to help me keep the panel square as I assembled it, sticking
the pieces onto a piece of copy paper to give them stability. I generated my
sentiment in MS Publisher (easier placement than Word) and printed it onto 300gsm
white cardstock, which I folded to make a card base. I adhered the ‘puzzle’ panel
onto the card, leaving a small border of white at the top , and then attached
the ‘missing’ piece on top, leaving some of the empty space visible below to
give the impression that the puzzle needs to be completed.
Another co-ordinating envelope and card three was complete.
Card Four –
Love/Thinking of You
The fourth and final card was on the theme of Love and, actually, I found this the
most difficult to create of all the cards as I didn’t want anything too floral,
too cute, too masculine, too feminine…need I go on?
Eventually I decided simply to begin and see where the
process took me. I took a 6” square piece of pale red (i.e. not too
saturated colour) card from a Memory Box Gradient Pad and began blending ink
onto it with my blending brushes, using Velvet, Crimson and Grape crisp dye inks, until I
achieved the depth and gradient I was looking for.
Then I took the Weekend Doodles stamp set and stamped the
flower sprays at the bottom and up the sides of the card in Dark Chocolate ink
– a little softer result than using black ink. I was not sure how to colour the
flowers until I remembered my Karin Metallic Brush Pens and I found these gave
a lovely sheen on top of the red ink. I did some quick colouring and then
stamped the outlines again to define the flowers.

I used the Mega Love die to cut the word twice from white
cardstock and once from gold glitter paper, layering them all together for
dimension. Per my tip above, I first glued the two white die cuts together and
took the Dark Chocolate ink pad and swiped around the edges of the stack so
that there were no white bits showing to break up the colour underneath. Then I
added the final gold die cut and placed it on the card. I think perhaps I could
have placed it further to the left, even if it obscured the flowers a little,
as the placement bothers me slightly – but I think the overall final look is
great and perhaps it’s the sort of thing that only we cardies would notice?
I cut the word ‘You’ from gold mirror card with MFT’s Captions Alphabet Dies
and added it without dimension (!) underneath the main die cut.
I added a few sparkly crystals from Lucy’s Cards and made a
co-ordinating envelope, as always, to finish off.
Thank you for sticking with this long post - I really appreciate your time. Don't forget to check out part 2 here.
Until next time, keep crafting.
Supplies:
Please note that some of the links below are affiliate links and if you follow them and make a purchase I might receive a small commission, at no additional cost to you. This helps to support my blog.