27 June 2021

A Bit more Blom

 Hello, Crafty Peeps, and thank you for dropping by. 

Today I'm delighted to show you several cards made with digital stamps from Angie Blom Digital Designs. As you know, I love a digital stamp as they can be used at any size you wish, which is a great advantage over rubber or clear stamps. Angie's designs are super - I particularly like her ladies and gentlemen. 

Card One

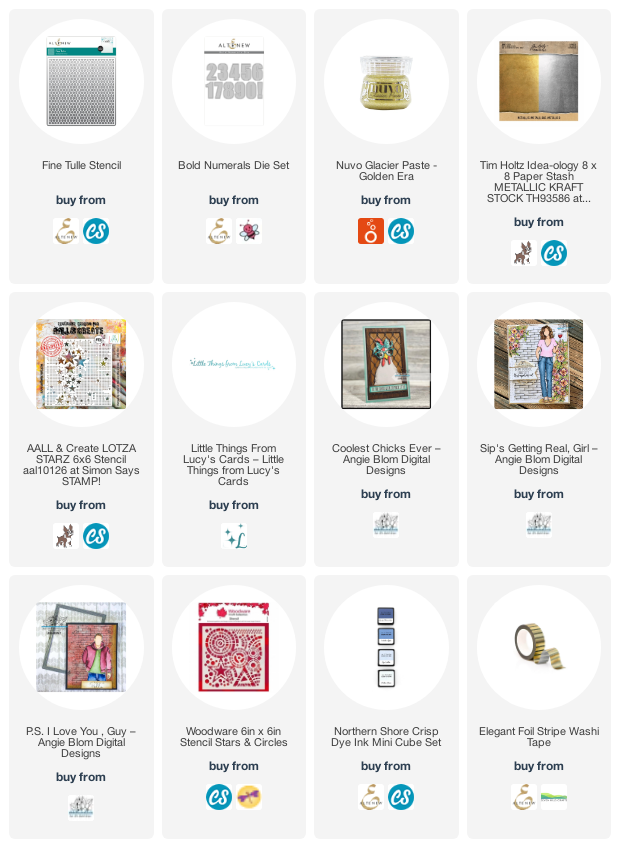
The first card today was for a 15-year old boy's birthday and uses 'PS I Love You Guy', a cool, modern dude who comes with a couple of sentiments and a variety of multi-image ready-to-print layouts as well as the single image I used here. I used a cool stencil - 'Stars and Circles' from Woodware - for the background, inked onto pale blue cardstock with  Altenew inks from the 'Northern Shore' Mini Inks collection. I coloured him up with Copic markers before fussy cutting him out  and popping him up on some foam tape. I also used some Altenew 'Elegant Foil Stripe' washi tape for a little masculine glamour.


The sentiment is from MFT Stamps 'Sassy Pants Birthday Greetings' set.

Card Two

The second card was for a friend's 50th birthday, using the 'Sip's Getting Real' image. If you're a member of Angie's fan group on Facebook, you will have seen my dilemma about whether or not to colour the image. I decided that I would and this is the result. However, I didn't simply colour her on the one layer card - I decided that she needed to be 'above' the background and so I printed and coloured an additional copy and fussy cut and mounted her on foam.


The background was coloured with Distress Inks in 'Squeezed Lemonade', with 'Kitch Flamingo' and 'Tumbled Glass' applied through Altenew's 'Fine Tulle' stencil at the top and bottom - you can't see this very well in the photograph as the colour was subtle. Then I applied Nuvo Glacier Paste in 'Golden Era' through Aall & Create's 'Lotza Starz' stencil. The stencil is 6" x 6" square, and my card was a large slimline so I had to extend the pattern by moving the stencil down the card front and adding more paste.

I cut the number 50 with Altenew's 'Bold Numerals' die set - three times in white and once in gold (Idea-Ology Tim Holtz Metallic), layering them for dimension. 

There was already so much on the front of the card that I didn't know where I might put a sentiment so as not to upset the balance. So I left off the sentiment and I think this was the right decision. 

Card Three

My third card is one of several I have made using the 'Coolest Chicks Ever' set, which is a set I use often. 


I used Newton's Nook 'Tumbling Hearts' stencil and Nuvo and Lawn Fawn inks to ink the two backgrounds. 


I coloured the image with a selection of Copic markers and used my Prismacolor pencils to add a little more depth here and ther. 


I added some sequins (of course) from Little Things From Lucy's Cards. I printed the sentiment as I had a firm idea what I needed. 

This is a simple card, no fancy techniques, but I love it. 

So there we are, a bit more Blom. Take a look at Angie's site here - if you're into digital stamping, I'm sure you will find lots to inspire you. 

Until next time, keep crafting.


Supplies:

Please note that some of the links below are affiliate links and if you follow them and make a purchase I might receive a small commission, at no additional cost to you. This helps to support my blog. 
18 June 2021

AECP 2 - Polychromatic

Hi there, Crafty Peeps - I hope you are all well. 

Continuing my AECP journey has been more difficult this week - I have been struggling with a lack of creativity and motivation. However, I am lucky to have the support of a great group of both AECP students and Certified Educators, and their support has helped me to move past this 'blip'. 

I think, also, that using a different style of stamp has helped, moving away from florals to something more abstract and making creative choices that are outside my usual comfort zone. 

This week's class was 'Polychromatic', taught by the talented Nina-Marie Trapani. This class encourages students to play with colours, from monochrome to glorious multi-colour, and to develop their confidence in making colour choices. It leads on well from my previous two colour-based classes - 'In the Mood for Color', and 'Color My Day' - and if you are looking for guidance on how colour can influence your cardmaking, I can recommend taking all three classes. 

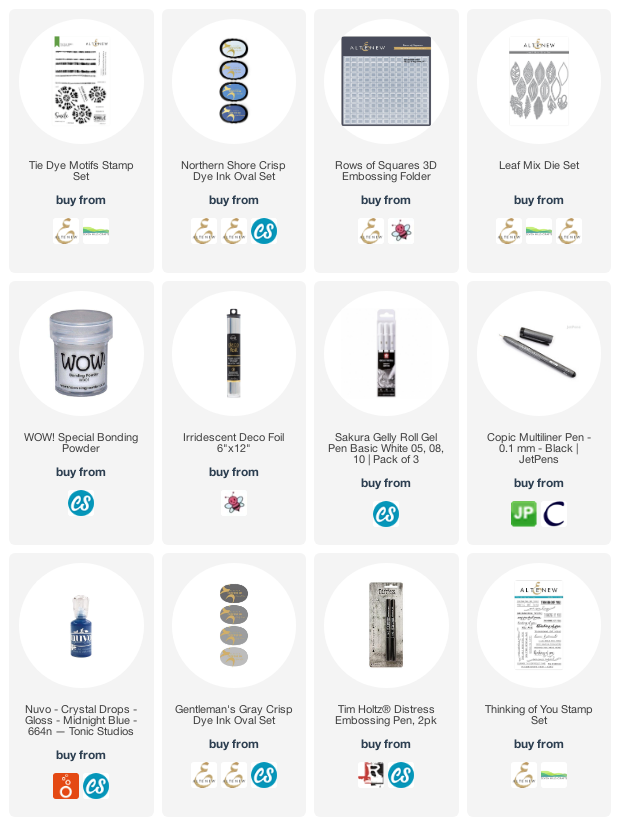
I love colour and have no problem using bright and bold colours on my cards. The thing I don't do very often is use a monochromatic scheme, so this is what I chose to concentrate on this week. I used the new 'Tie Dye Motifs' stamp set and Altenew inks from the 'Northern Shore' and 'Gentleman's Gray' sets.

I happened across these items when I was in The Range early this morning and today's cards were 'born'.

Card One

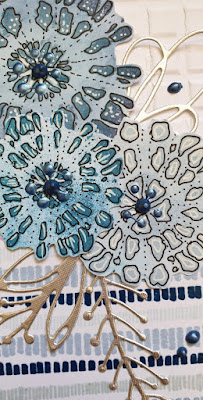
For my first card I used the stamps in their original configuration, three sets of two stripes, to cover the bottom of a slimline card with various shades of blue, and used some Wow Bonding Powder to add some Deco Foil Iridescent Silver to the top and bottom stripes.  To complete the card base I used the 'Rows of Squares' embossing folder to add some extra texture to the white area at the top of the card.

I used the same shades of ink to stamp the three circular motifs and added some extra colour to the white background of each stamped image with a sponge dauber. Now, I know I said I was moving away from floral images this week, but once I had stamped the three circular patterns it occurred to me that they looked like flowers, so I ran with that thought and used a Copic fine liner pen to outline the patterns and add lines of dots to enhance the floral feel. I then did the same with a white Gelly Roll pen to lighten the effect. 

I cut some of the decorative 'leaves' from Altenew's 'Leaf Mix' die set from silver mirror card - these quirky leaves are great for adding decorative accents. 

I finished this card by mounting the card front onto a piece of dark blue cardstock (from my stash) and  with a few Nuvo Crystal Drops in 'Midnight Blue'. I chose not to add a sentiment to the front of this card as space was tight and there was already quite a lot going on!

Card Two


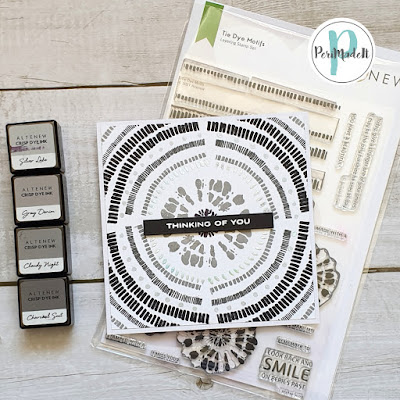
I decided that a bit of stamp surgery was in order for card two, and I cut the double stripe stamps in half to give me two single stripes of each design, and cutting one of each shorter. Cutting the stamps in this way allowed me to bend each stripe to a curve. 

I cut a circle frame from some scrap white card and attached it with temporary glue to the outside of my MISTI lid. This then worked as a guide that allowed me to bend and line up the stamps more accurately than by eye. I used various inks from the 'Gentleman's Gray' ink set to create a circular pattern around the card, finishing off with the largest of the circular motif stamps in the centre. 

I used a Tim Holtz embossing pen with some Wow Bonding Powder to add dots and marks with iridescent silver foil (as above) and cut the finished pattern to fit a 6" x 6" card with a narrow white border around the edge. I chose a sentiment from the 'Thinking of You' stamp set, which I embossed in white onto black cardstock and placed centrally across the card.

I was pleased with this card and happy that I had taken a risk in cutting apart the stamps in this way to achieve the result I wanted. 

I hope you are having a great week and, until next time, keep crafting.


Supplies:

Please note that some of the links below are affiliate links and if you follow them and make a purchase I might receive a small commission, at no additional cost to you. This helps to support my blog. 

13 June 2021

Just Playing A-Round

Hi there, Crafty Peeps - just thought I'd pop by and let you see this fun birthday card I made for our friend, Sue. There won't be a supplies list because, in all honesty, I cannot remember where I got this digi stamp, or when, but I've been hoarding it for years, literally, and it was time it came out to play. 


I created a background for this card and coloured everything with Copic markers, including the lady golfer, who was printed separately, fussy cut and popped up on some foam dots. 


The sentiment was one I typed and printed, as I couldn't find anything appropriate in my stash of stamps. I wish I had thought to colour the sentiment strip background so that it wasn't so starkly white, but I don't think it detracts too much from the finished card. 

That's it - short and sweet.   Until next time, keep crafting.


Sunshine at last!

Hello Crafty Peeps, and welcome back to my blog. 

Here in the UK we have some much-needed sunshine and warmth, and it coincides with some relaxing of the covid restrictions, which is lovely. 

Sunshine means summer fun and this card came together so easily while I was looking at the beautiful blue sky. 


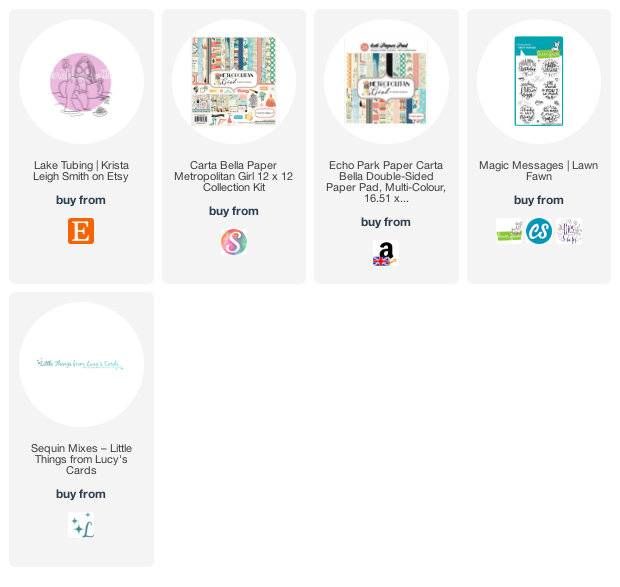
This is a digital stamp from Krista Smith on Etsy (full details below, along with supplies list). The designer paper in the background was in my 'scrap stash', but a little rifling through my paper pads found it was originally from Carta Bella's  'Metropolitan Girl' 6" x 6" paper pad. Unfortunately, it seems that this small pad is no longer produced and it is difficult, though not impossible, to find one online. You can, however, still buy the 12" x 12" collection.

I wanted to create something for the fun of creating something - I find that much of my crafty time is spent making cards for specific people and occasions, or for my AECP classes, and it is sometimes just fun to make something different.


I used Copic markers to colour the focal image and created a matching bokeh effect by using the colourless blender marker to remove some of the colour from the blue. 

The sentiment reflects exactly the feel I wanted for this card - fun, sunny and bright. It's from Lawn Fawn (details below) and I love it.

There are, as always, sequins and gems for sparkle. 


I hope you're enjoying some sunshine wherever you are.  Until next time, keep crafting.


Supplies:

Please note that some of the links below are affiliate links and if you follow them and make a purchase I might receive a small commission, at no additional cost to you. This helps to support my blog. 

04 June 2021

AECP 2 - I Can Feel a Rainbow

Hello Crafty Peeps - thank you for popping over to see me. 

Today I have another submission for my AECP Level 2 course and we are still talking about colour. This time instructor Stephanie Klauck demonstrates how to use the colour of your card and the mood associated with it to add to the message you send to the recipient.

In colour psychology, it is thought that each colour can influence mood in various ways, though you might often not be aware of it. In this course, Stephanie uses the following colours and moods to demonstrate this theory:

Blue - calm, tranquility

Red - love, passion energy

Green - growth, nature

Yellow - cheer, optimism

Pink - caring, sensitive, sweet, feminine

Orange - health, happiness, courage

Rainbow - all the above!

I thought it might be interesting to see what the same card made in each of the colours would look like. Some months ago, at the beginning of the UK's first lockdown, I made this card:


It is a large card - 20 cm (8") square - and I think I originally intended to send it to my office, from which I was furloughed for the duration. I didn't send it in the end and it has been in my card store ever since. I came across it whilst looking for something else and it sparked the thought. 

Using the same stamp set, and a selection of stencils, I created the same card in each of the six colours the course covered and found that, indeed, the colour of the components really did affect the feel of the card. I tried to select an appropriate sentiment for each card, too, and I am really pleased with the final set. 


The details for each card are below and there is a full supply list at the end of this post. 

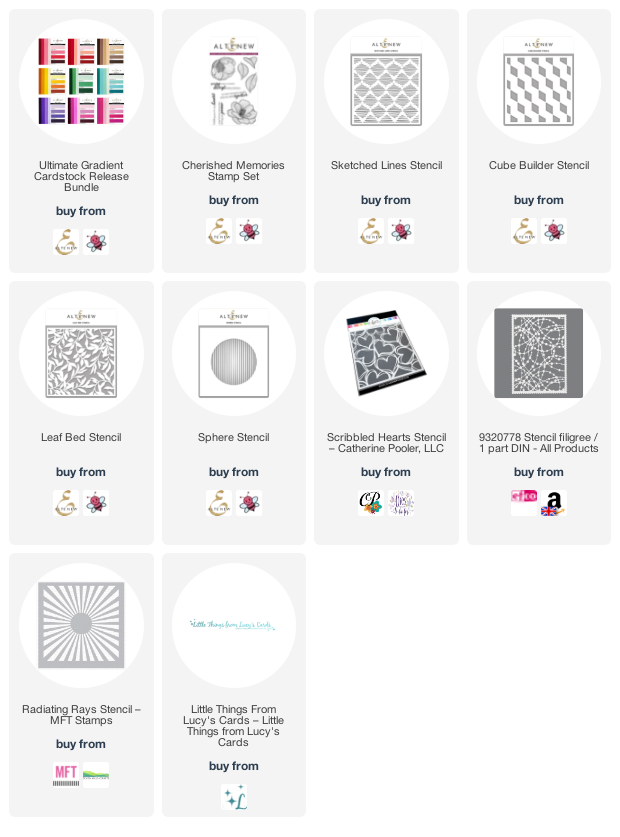
The stamp set is Altenew's 'Cherished Memories' set, which I used to stamp one of each of the flowers onto Altenew Gradient Cardstock. The background papers are from Memory Box's 6" x 6" co-ordinating cardstock pads and the inks for the stencils are Altenew.

I used Copic markers to colour the flowers and leaves - using them on coloured card gives a bit more depth without having to work too hard! 

All the sentiments come from The Stamp Market's 'Modern Messages' and 'More Modern Messages' stamps sets. I love these bold two-part sentiments. 

Blue
The first card I made was the blue one and the choice of stencil (Altenew 'Sphere' stencil) gave me a starting point for the design. In order to replicate the design across all the cards, I cut a circle from a piece of 200gsm vellum, and placed this underneath each stencil that I used in order to contain the pattern to the circle.


Red
For the red card, I used Catherine Pooler's 'Scribbled Hearts' stencil and white ink for the background, and used only the top line of the sentiment, which I embossed with white. 


Green
Nothing says nature like a leaf stencil, so I used Altenew's 'Leaf Bed' stencil for the centre circle on the green card. 


Yellow
For this cheery card, it seemed only fitting to use a ray of sunshine in the centre, and I used MFT's 'Radiating Rays' stencil for this. 


Pink
Because pink is sweet, sensitive and feminine, I thought a string of beads would be appropriate so I used EFCO's 'Stencil Filigree' for the centre. 


Orange
And finally, I used a geometric stencil (Altenew's 'Cube Builder' - two  turns only) for the centre of the orange card. 


Purple
I felt that the rainbow was missing its purple, which isn't included in the class, so I decided to make a purple version for completeness. For this one I chose Altenew's 'Sketched Lines' stencil for the centre circle.


There were, of course, lots of sequins and gems liberally scattered around, though, again, I tried to put these in roughly the same place on each card. And I finished the flower centres with a few drops of Nuvo Crystal 

Here they are together.


To finish, I made a co-ordinating envelope for each card


This was an interesting project and I hope you agree that it does demonstrate that colour can change the look of a card despite using the same elements on it. 

I hope you are all staying well.  Until next time, keep crafting.


Supplies:

Please note that some of the links below are affiliate links and if you follow them and make a purchase I might receive a small commission, at no additional cost to you. This helps to support my blog.