Showing posts with label Nuvo. Show all posts

25 July 2021

AECP 2 - Masking Unleashed

Hi there, Crafty Peeps - thank you for popping by. 

This post comes hot on the heels of my last one, simply because I had time to play with my supplies and couldn't pass up the opportunity to complete another class. I had such fun.

This is my submission for 'Masking Unleashed', a class in which Svitlana Shayevich introduces us to various masking techniques. Masking can offer fun and cool results, and help you make the most of your supplies. I came up with two cards, the second a result of the first - a 'twofer', if you like.

Card One

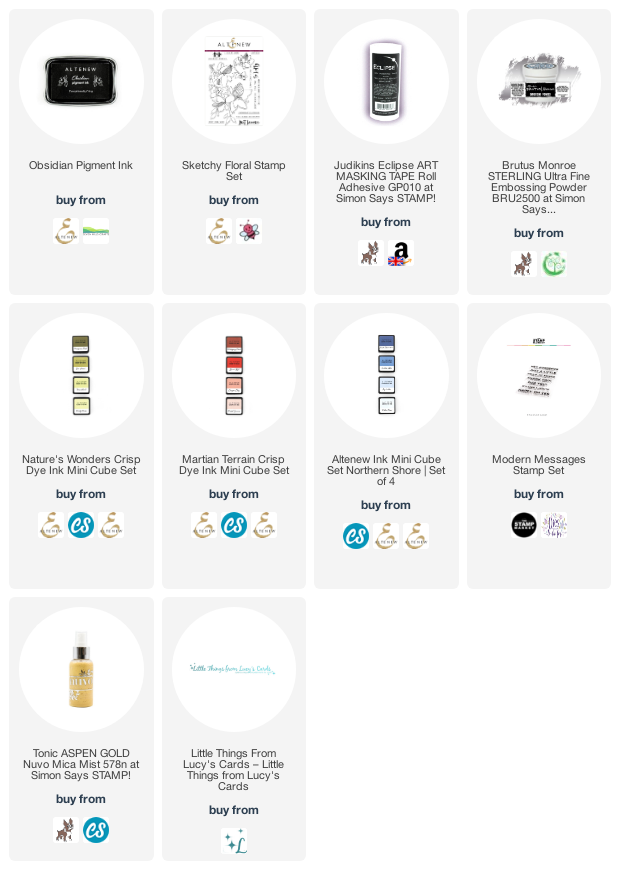
Because this was all about masking, I decided to choose the 'Sketchy Floral' stamp set to work with as there are so many different parts to cover. I started by stamping once with Wow Embossing Ink on the left-hand side of an 8" x 4" piece of watercolour paper, and heat embossing with . I also stamped another copy of the image onto Judikins Eclipse Masking Paper, which I fussy cut and placed over the parts of the flower I wanted to mask.

Then, using a stencil which was free with one of the papercraft magazines a couple of years ago, I used the 'Nature's Wonders' ink cube set to blend an ombre effect onto the watercolour paper, working vertically rather than horizontally.

Peeling away the mask is so satisfying, and the blend over the stencil looked great - just what I had imagined. There was also something quite interesting about the mask, too, so I was careful as I removed it, transferring it to another piece of cardstock for safe keeping. Great, isn't it? 

I had already decided to try my hand at 'watercolouring' the image with my Altenew inks, so for the flowers I smushed some of the 'Martian Terrain' colours onto a piece of acetate and used my waterbrush to apply the colour, though somewhat inexpertly. I did the same with the 'Northern Shore' ink set for the leaves (although I have just noticed one that I missed!) and used the darkest shade to apply some splatters across the finished panel. I wasn't happy with the result and so I played around with a white gel marker and a black fine liner to add further details, which I felt brought a little more depth than I had achieved with 'watercolour' alone. I love this colour palette, but need to practise my watercolouring some more, obviously.

The sentiment is from The Stamp Market's 'Modern Messages' stamp set. Each sentiment stamp has a main bold sentiment and a sub-sentiment in a smaller font - I chose not to use the sub-sentiment and just inked and stamped the bold 'Hey Gorgeous' portion, choosing to stamp it vertically rather than horizontally or onto a separate sentiment strip. 

There are no sequins or extra embellishments on this card, as I felt the splatter was quite sufficient. It's a shame that you can't see the silver embossing better in the photograph, as it is lovely and shiny in real life and really adds to the decoration.

Card Two


This second card was 'born' from the mask for the first. As you will see from the previous photographs, I was careful how I removed the mask and placed it on to another piece of cardstock, matching the placement from the first card. However, when I came to finish the card (my original idea being to use the mask as was but place it on to another ombre background), I felt the pattern may be too busy for the result I was looking for. So I decided to use the mask only at the top of a piece of 8" x 4" watercolour card on which I had blended a vertical ombre in inks from the 'Martian Terrain' ink set. I splattered the background with water and sprayed a little 'Aspen Gold' Nuvo Mica Mist (which I haven't been able to pick up on the photograph) over the top. I used the end of the spray tube to splatter some larger gold dots, too.


The card at this point reminded me of Christmas so what better than a beautiful seasonal sentiment from MFT's 'Hand-Lettered Holiday Greetings' stamp set, which I heat embossed in gold. I originally thought that I didn't want any further embellishment, but since taking the photographs I have added just a few gold sequins 


I would definitely try this technique again when I have another beautiful mask to use. I hope you like it as much as I do. 

Until next time, keep crafting.


Supplies:

Please note that some of the links below are affiliate links and if you follow them and make a purchase I might receive a small commission, at no additional cost to you. This helps to support my blog. 

27 June 2021

A Bit more Blom

 Hello, Crafty Peeps, and thank you for dropping by. 

Today I'm delighted to show you several cards made with digital stamps from Angie Blom Digital Designs. As you know, I love a digital stamp as they can be used at any size you wish, which is a great advantage over rubber or clear stamps. Angie's designs are super - I particularly like her ladies and gentlemen. 

Card One

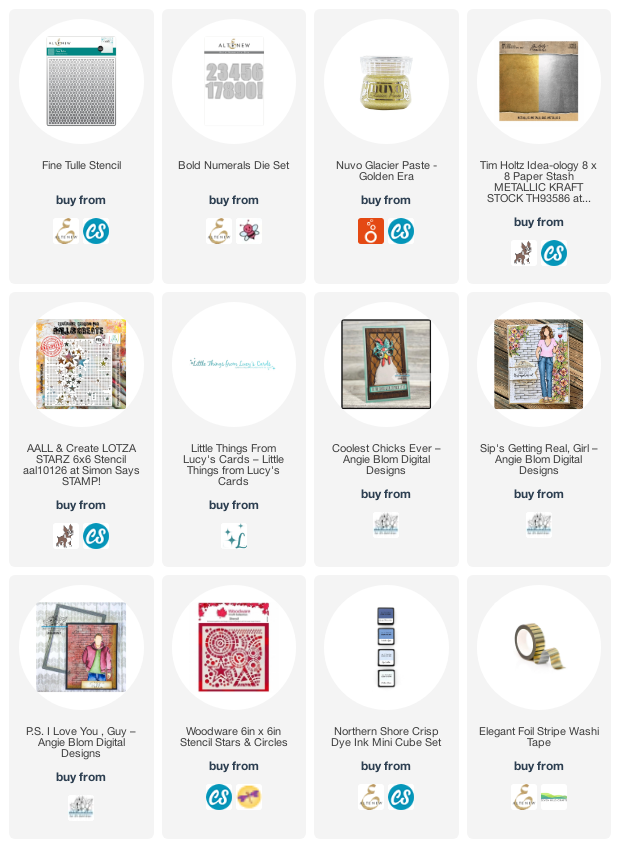
The first card today was for a 15-year old boy's birthday and uses 'PS I Love You Guy', a cool, modern dude who comes with a couple of sentiments and a variety of multi-image ready-to-print layouts as well as the single image I used here. I used a cool stencil - 'Stars and Circles' from Woodware - for the background, inked onto pale blue cardstock with  Altenew inks from the 'Northern Shore' Mini Inks collection. I coloured him up with Copic markers before fussy cutting him out  and popping him up on some foam tape. I also used some Altenew 'Elegant Foil Stripe' washi tape for a little masculine glamour.


The sentiment is from MFT Stamps 'Sassy Pants Birthday Greetings' set.

Card Two

The second card was for a friend's 50th birthday, using the 'Sip's Getting Real' image. If you're a member of Angie's fan group on Facebook, you will have seen my dilemma about whether or not to colour the image. I decided that I would and this is the result. However, I didn't simply colour her on the one layer card - I decided that she needed to be 'above' the background and so I printed and coloured an additional copy and fussy cut and mounted her on foam.


The background was coloured with Distress Inks in 'Squeezed Lemonade', with 'Kitch Flamingo' and 'Tumbled Glass' applied through Altenew's 'Fine Tulle' stencil at the top and bottom - you can't see this very well in the photograph as the colour was subtle. Then I applied Nuvo Glacier Paste in 'Golden Era' through Aall & Create's 'Lotza Starz' stencil. The stencil is 6" x 6" square, and my card was a large slimline so I had to extend the pattern by moving the stencil down the card front and adding more paste.

I cut the number 50 with Altenew's 'Bold Numerals' die set - three times in white and once in gold (Idea-Ology Tim Holtz Metallic), layering them for dimension. 

There was already so much on the front of the card that I didn't know where I might put a sentiment so as not to upset the balance. So I left off the sentiment and I think this was the right decision. 

Card Three

My third card is one of several I have made using the 'Coolest Chicks Ever' set, which is a set I use often. 


I used Newton's Nook 'Tumbling Hearts' stencil and Nuvo and Lawn Fawn inks to ink the two backgrounds. 


I coloured the image with a selection of Copic markers and used my Prismacolor pencils to add a little more depth here and ther. 


I added some sequins (of course) from Little Things From Lucy's Cards. I printed the sentiment as I had a firm idea what I needed. 

This is a simple card, no fancy techniques, but I love it. 

So there we are, a bit more Blom. Take a look at Angie's site here - if you're into digital stamping, I'm sure you will find lots to inspire you. 

Until next time, keep crafting.


Supplies:

Please note that some of the links below are affiliate links and if you follow them and make a purchase I might receive a small commission, at no additional cost to you. This helps to support my blog.