
Hi there, Crafty Peeps - thank you for popping by.
This post comes hot on the heels of my last one, simply because I had time to play with my supplies and couldn't pass up the opportunity to complete another class. I had such fun.
This is my submission for 'Masking Unleashed', a class in which Svitlana Shayevich introduces us to various masking techniques. Masking can offer fun and cool results, and help you make the most of your supplies. I came up with two cards, the second a result of the first - a 'twofer', if you like.
Card One

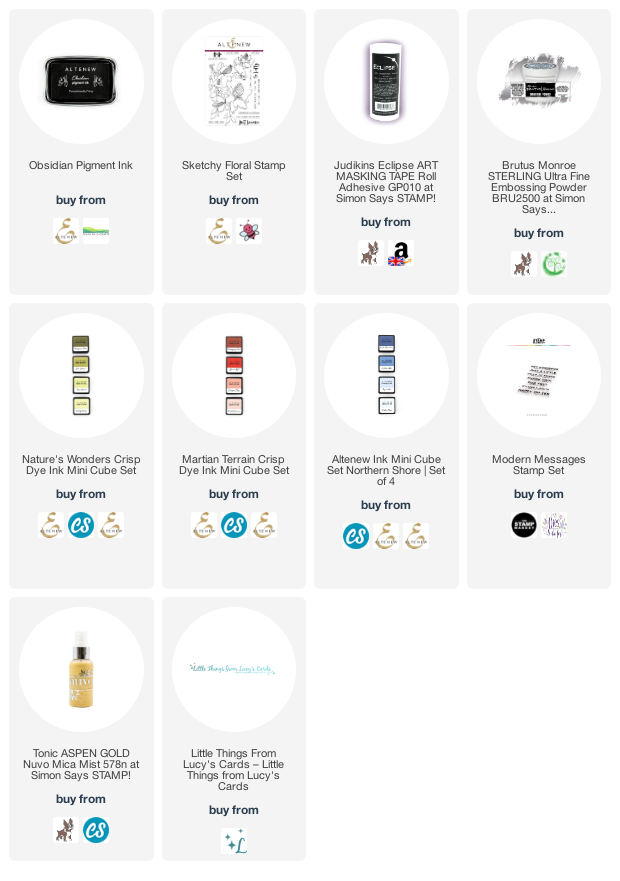
Because this was all about masking, I decided to choose the 'Sketchy Floral' stamp set to work with as there are so many different parts to cover. I started by stamping once with Wow Embossing Ink on the left-hand side of an 8" x 4" piece of watercolour paper, and heat embossing with . I also stamped another copy of the image onto Judikins Eclipse Masking Paper, which I fussy cut and placed over the parts of the flower I wanted to mask.

Then, using a stencil which was free with one of the papercraft magazines a couple of years ago, I used the 'Nature's Wonders' ink cube set to blend an ombre effect onto the watercolour paper, working vertically rather than horizontally.

Peeling away the mask is so satisfying, and the blend over the stencil looked great - just what I had imagined. There was also something quite interesting about the mask, too, so I was careful as I removed it, transferring it to another piece of cardstock for safe keeping. Great, isn't it?

I had already decided to try my hand at 'watercolouring' the image with my Altenew inks, so for the flowers I smushed some of the 'Martian Terrain' colours onto a piece of acetate and used my waterbrush to apply the colour, though somewhat inexpertly. I did the same with the 'Northern Shore' ink set for the leaves (although I have just noticed one that I missed!) and used the darkest shade to apply some splatters across the finished panel. I wasn't happy with the result and so I played around with a white gel marker and a black fine liner to add further details, which I felt brought a little more depth than I had achieved with 'watercolour' alone. I love this colour palette, but need to practise my watercolouring some more, obviously.

The sentiment is from The Stamp Market's 'Modern Messages' stamp set. Each sentiment stamp has a main bold sentiment and a sub-sentiment in a smaller font - I chose not to use the sub-sentiment and just inked and stamped the bold 'Hey Gorgeous' portion, choosing to stamp it vertically rather than horizontally or onto a separate sentiment strip.

There are no sequins or extra embellishments on this card, as I felt the splatter was quite sufficient. It's a shame that you can't see the silver embossing better in the photograph, as it is lovely and shiny in real life and really adds to the decoration.
Card Two


I think these are both fantastic. The shading is gorgeous and I was convinced the first one had cut out flowers layered on it but it's obviously the effect of the masking and shading. Beautiful cards.
ReplyDeleteThank you, Nik - your comments are so appreciated.
DeleteAbsolutely gorgeous! I’m in the level one of the AECP classes now ! Your card is inspiring!!
ReplyDeleteThank you, Jennifer - it's wonderful to hear that you've been inspired.
DeleteI am just... dude.. what even.. HOW? are you so good? like what? *dumbfounded*
ReplyDeleteThank you, Erum - so glad you like them.
DeleteTwo fabulous projects Peri! I'm so glad you used the gorgeous inked mask for your second card... Some things are just too pretty to toss!!
ReplyDeleteThank you LauraJane - yes, I often keep bits that I think are too pretty to toss. I have pockets full of them!
DeleteThis card is stunning. Love your use of so many techniques. You are an inspiration...I have this stamp set and plan to give it a go and use your sample to create a similar card.
ReplyDeleteThank you for sharing your talent with others.
Hi Dona, and apologies that I hadn't seen your very kind comment until now. I'm so pleased that you like this card - the technique is such fun. x
DeleteStunning Peri. Beautifully done hun. Hugs, Wends xoxo
ReplyDeleteHi Wendy and apologies for taking so long to reply to your kind comment - I must have had my notifications switched off! Thank you for popping in. x
Delete