Hello, Crafty Peeps, and thank you for dropping by.
Today I'm delighted to show you several cards made with digital stamps from Angie Blom Digital Designs. As you know, I love a digital stamp as they can be used at any size you wish, which is a great advantage over rubber or clear stamps. Angie's designs are super - I particularly like her ladies and gentlemen.
Card One
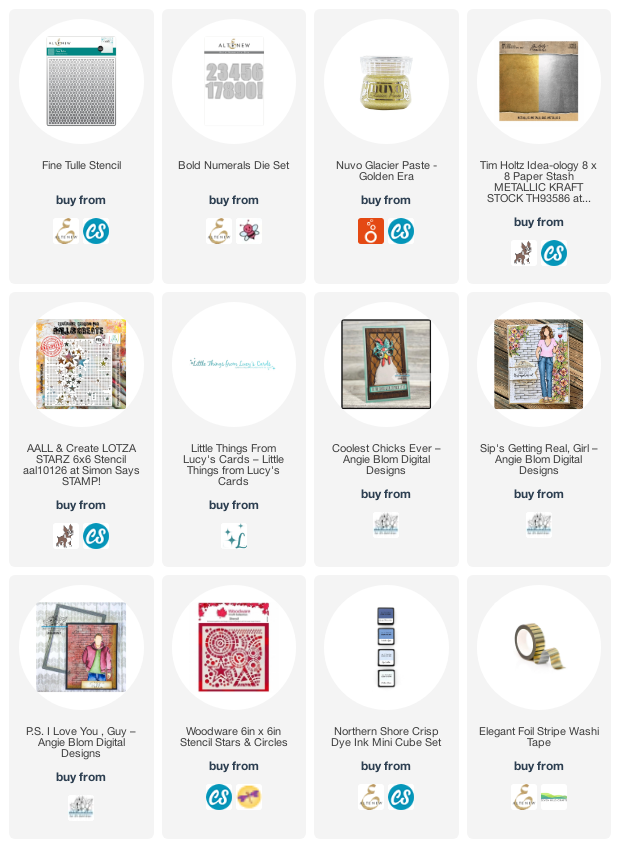
The first card today was for a 15-year old boy's birthday and uses 'PS I Love You Guy', a cool, modern dude who comes with a couple of sentiments and a variety of multi-image ready-to-print layouts as well as the single image I used here. I used a cool stencil - 'Stars and Circles' from Woodware - for the background, inked onto pale blue cardstock with Altenew inks from the 'Northern Shore' Mini Inks collection. I coloured him up with Copic markers before fussy cutting him out and popping him up on some foam tape. I also used some Altenew 'Elegant Foil Stripe' washi tape for a little masculine glamour.
The sentiment is from MFT Stamps 'Sassy Pants Birthday Greetings' set.
Card Two
The second card was for a friend's 50th birthday, using the 'Sip's Getting Real' image. If you're a member of Angie's fan group on Facebook, you will have seen my dilemma about whether or not to colour the image. I decided that I would and this is the result. However, I didn't simply colour her on the one layer card - I decided that she needed to be 'above' the background and so I printed and coloured an additional copy and fussy cut and mounted her on foam.
The background was coloured with Distress Inks in 'Squeezed Lemonade', with 'Kitch Flamingo' and 'Tumbled Glass' applied through Altenew's 'Fine Tulle' stencil at the top and bottom - you can't see this very well in the photograph as the colour was subtle. Then I applied Nuvo Glacier Paste in 'Golden Era' through Aall & Create's 'Lotza Starz' stencil. The stencil is 6" x 6" square, and my card was a large slimline so I had to extend the pattern by moving the stencil down the card front and adding more paste.
I cut the number 50 with Altenew's 'Bold Numerals' die set - three times in white and once in gold (Idea-Ology Tim Holtz Metallic), layering them for dimension.
There was already so much on the front of the card that I didn't know where I might put a sentiment so as not to upset the balance. So I left off the sentiment and I think this was the right decision.
Card Three
My third card is one of several I have made using the 'Coolest Chicks Ever' set, which is a set I use often.
I used Newton's Nook 'Tumbling Hearts' stencil and Nuvo and Lawn Fawn inks to ink the two backgrounds.
I coloured the image with a selection of Copic markers and used my Prismacolor pencils to add a little more depth here and ther.
I added some sequins (of course) from Little Things From Lucy's Cards. I printed the sentiment as I had a firm idea what I needed.
This is a simple card, no fancy techniques, but I love it.
So there we are, a bit more Blom. Take a look at Angie's site
here - if you're into digital stamping, I'm sure you will find lots to inspire you.
Until next time, keep crafting.
Supplies:
Please note that some of the links below are affiliate links and if you follow them and make a purchase I might receive a small commission, at no additional cost to you. This helps to support my blog.