Hi, Crafty Peeps, and thank you for stopping by.
Today's post is my final submission of work for AECP Level 2 - there is only my final L2 challenge to go before I can 'graduate' and move on to Level 3.
My final class was 'Creative Watercolor Media', a class led by Jennifer Rzasa, Laura Bassen and Debby Hughes - three talented ladies in one class!
I am such a wuss when it comes to watercolour - I certainly haven't inherited my Dad's talent in this discipline, that's for sure. I have to admit that I left this class until the last in this level, but there was no escaping it if I wanted to move forward. So today's cards are inspired by lesson 5 and I chose to use my Altenew Crisp Dye Inks to smoosh a couple of backgrounds for my cards. As always, details and links to the supplies used (those that are available) are at the end of this post.
Card One
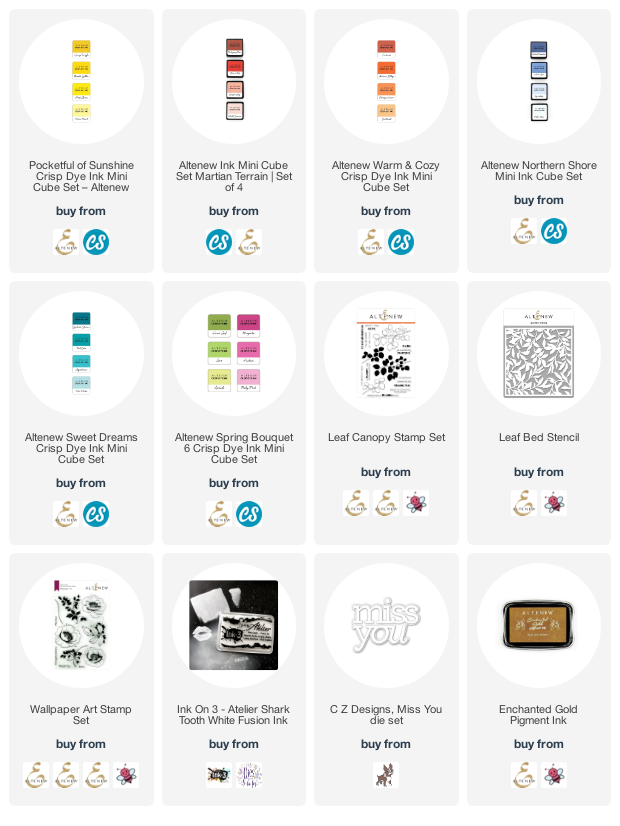
For my first card, I used a piece of watercolour paper slightly larger than my 4.5" x 5.5" (11cm x 14cm) card blank, so that I had the option to choose my favourite part and cut the finished panel down to fit once dry. I chose Canyon Clay, Orange Cream and Mahogany Bark inks and pressed these randomly onto a piece of acetate, which I then spritzed generously with water. I picked up the acetate and smooshed it down onto the paper, moving the ink around until I had covered almost all of the paper. I dried the panel with my heat gun on a gentle heat, then repeated the process, making sure to cover the white edges. I dried this again and then smooshed some 'Enchanted Gold' water-based pigment ink onto the acetate. I spritzed this with water and gently smooshed it onto the panel, leaving a light layer of gold shimmer over the top of the pale pink tones of the previous smooshes.

I chose my favourite area of the finished panel and cut this to 4" x 5.25" (10cm x 13cm). I had decided to use two of the flower stamps from the 'Watercolor Art' set, which is one of my favourites, and, with the help of my MISTI, I stamped the first large flower in the bottom left of the panel, using 'Mahogany Bark' ink.
I masked this large flower and stamped the second, smaller flower, above, in 'Orange Cream' ink - I stamped it twice to give some depth of colour. I then masked this flower as well, and chose 'Canyon Clay' ink to stamp several sprays of leaves from the same stamp set.
I felt that the panel needed something to give a little more texture, so I took the 'Leaf Bed' stencil and some Ink on 3 Atelier Fusion 'Sharks Tooth' ink and stencilled around the top right of the card and down the right-hand side a little. Whilst you don't see this stencilling immediately, if you look carefully at the card you can see the cloudy white and the overall texture is there and the result is lovely.
I used the applicator tube from a white ink spray to add some white splatters, and the same from a gold ink spray to add some gold splatters. I layered the panel onto a cream card blank, rather than white, as it complemented the soft tones of the panel. I cut the sentiment from gold card (stash) - I cut it twice and layered the two together for dimension. A handmade co-ordinating envelope finished this card.
Card Two
I wanted a completely different feel for this card, to show that smooshing doesn't have to be soft and pretty.
I took 'Winter Lake', 'Lime' and 'Galactic Stream' inks and pressed them down randomly onto the acetate. I spritzed generously with water, as before, and took another piece of watercolour paper to smoosh the colours onto. I dried the panel and repeated the process, adding in a little 'Orange Cream' for warmth, until the paper was covered. Once the panel was dry I decided I needed to add another colour, so repeated the process using only 'Honey Drizzle' ink. This gave me the result I wanted.
I thought it would enhance the panel to give it some embossed texture so I used Spellbinder's 'Pebbles' Impressibilities (which I think is no longer made) and ran this and the panel through my Platinum 6 with the embossing plates. This gave a lovely pebble effect and reminded me of an old stone wall.
I've made a very similar card previously (different techniques) and I love this 'Leaf Canopy' stamp set. It was perfect for this card so I used 'Galactic Stream' ink to stamp two leaf clusters down the left-hand side of the panel. I stamped several times to make sure that I got a full impression over the pebbled background.
I used the same spray applicators to apply white and gold splatters, before adding the sentiment with 'Galactic Stream' ink and heat embossing with clear powder.
Did I mention sequins? There are, of course, sequins on both cards.
A co-ordinating green envelope finished the second card.
I'm so excited to have finished all the classes for Level 2 and I can't wait for the details of my final challenge.
Thank you for spending time here, Peeps, your support is much appreciated.
Until next time, keep crafting.
Supplies:
Please note that some of the links below are affiliate links and if you follow them and make a purchase I might receive a small commission, at no additional cost to you. This helps to support my blog.