Showing posts with label Distress Inks. Show all posts

15 July 2022

Getting all Zentangled!

Hello Crafty Peeps, and thank you for stopping by. 

This last few weeks have been hectic and I've only now found time to post my next project towards my AECP Level 3, after taking Amber Davis's 'Zentangle for Cardmakers' class. I would encourage you to have a look at Amber's class, as she perfectly demonstrates how Zentangle can really bring some additional interest to your card making.

Now, I'm not a patient person and I found this class quite a challenge because it is the repetitive practice of Zentangle which brings results rather than the immediacy of, say, using stencils or stamps to achieve the end goal. But, in the end, I did manage to find my zen and produce two cards, which, whilst they do not directly use the patterns that Amber demonstrated in her class, are recognised tangles (Cadent and Crazy 'NZeppel).

Card One

This first card is my take on the Crazy 'NZeppel pattern, which I applied to a die cut ampersand.


I created a background using stamps from Altenew's 'A Study in Watercolor' set, and stamping with Saltwater Taffy Distress Ink to fill the card front panel (Neenah 80lb Classic Crest). I then took the 'Fine Tulle Stencil' and using only the ink left on my yellow blending brush, I lightly applied some ink through random areas of the stencil. That done, I used my Altenew Jet Black ink cube and popped some ink onto an acrylic block, sprayed it with some water, and used a small brush to flick some splatter over the background. 


Then I turned my attention to the die cut. I chose to use the Crazy variation of the Nzeppel pattern to cover the ampersand in rounded 'tiles', using a dark grey Copic marker to fill in the background and a range of pinks, working inwards from dark to light, to colour each tile. Traditionally, Zentangle is produced only in black and white with shades of grey, but I love the idea of colour, as you will know by now. 


I cut a couple of extra ampersands so that I could layer these under the decorated one, to give a little dimension. To ensure there were no bright white edges to the finished stack, I coloured the edge with a black pen, which also gives a little more definition to the stack.

I have recently purchased some Wordies Sentiment Strips from Creative Expressions and I thought I would try these out on this card. They come in white with black lettering and black with white lettering, which are the ones I chose here. The sheets are easily cut and, again, to ensure the white cut line wasn't visible, I edged each of the cut words with black pen.


To finish, I affixed all the elements of the card and popped on some beautiful black gems for a final flourish, and made a co-ordinating envelope.

Card Two

I wasn't having much success with some of the patterns Amber demonstrated in these lessons, which is no reflection on Amber, who is super talented and a very good teacher. I'm not sure what the barrier was - I suspect my shaky hand and hay-fever eyes contributed to my less than successful attempts - and I was disappointed not to be able to do more justice to this brilliant class. I decided to look up some other tangles and came across 'Cadent', which, through simple lines, created an almost basket weave effect, and could be shaded for more dimension. 


To help with placement, I had the idea to stamp the 'Dainty Swiss Dots' background stamp in a pale grey, and used this grid of dots as a guide to create the pattern. 
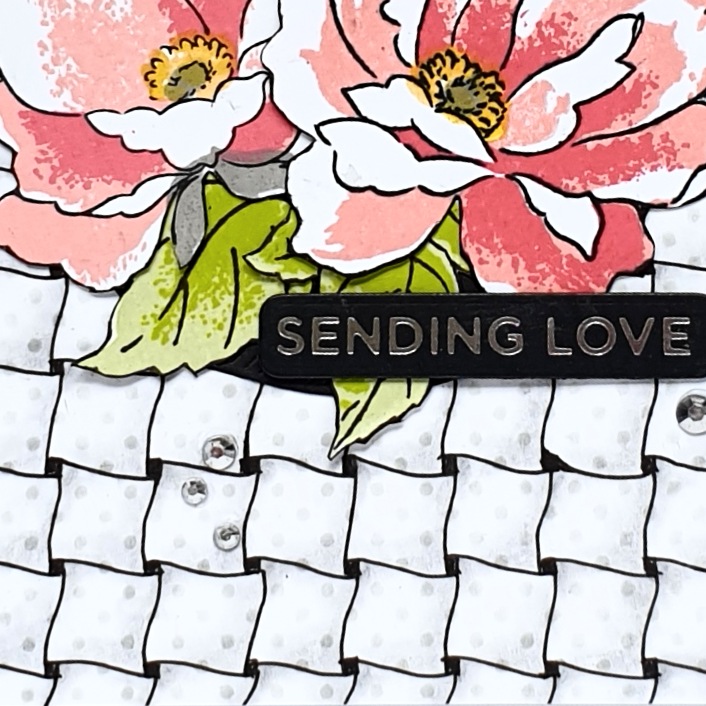

Having successfully completed the whole card front with this tangle, I added a little shading in graphite pencil and trimmed the panel to 4" x 5 1/4" before adding it to a 4 1/4 " x 5 1/2" top folding card. 
 
To contrast with the quite regimented background and to bring some femininity to the finished card, I chose to stamp with the 'Airbrushed Flowers' stamp set, using a selection of Distress Inks and Altenew Crisp Dye Inks in pinks and greens. I fussy cut the stamped images and arranged them on the card front, but realised they needed a little something to 'ground' them on the card, so I cut a circle out of black cardstock to place underneath the cluster of flowers and this was just the addition it needed. 


I added some platinum crystals from Lucy's Cards for a little sparkle, and a foiled sentiment finished the card off. There was, of course, a co-ordinating envelope.

Despite my lack of patience, my shaky hands and blurry vision, I am happy with these two cards. 

Until next time, keep crafting.


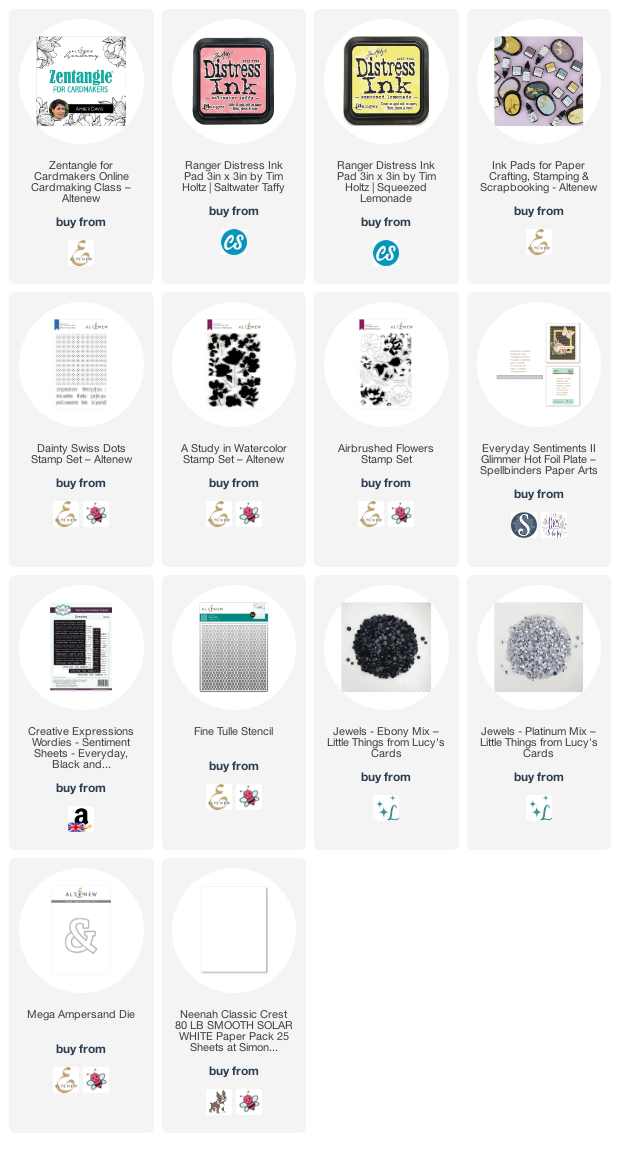
Supplies:

Please note that some of the links below are affiliate links and if you follow them and make a purchase I might receive a small commission, at no additional cost to you. This helps to support my blog. 
04 June 2022

Here We Go Again...

Hello Crafty Peeps - a big thank you for stopping by.

Well, it's been a while - there's been a lot of life going on in the background these last few months and I have also been exploring some other styles of card making. But I am now back in Altenew mode and I'm happy to see you at the start of my AECP Level 3 journey. 

If you have followed my blog or social media posts, it will come as no surprise that my first class has been 'Stunningly Styled Stencils', led by the very talented Jenny Colacicco and LauraJane Head. I love stencils and I have used them a lot in my AECP projects. They are an easy way to add interest to a card, or a quick way to add colour to a stamped image. 

For this project I was inspired by lesson 5, 'Stencil Printing' - all the product details, etc., are listed below, as always. Unless otherwise stated, all products are from Altenew.

Card One


I wanted to start by using a stencil in the usual way and then seeing what print I could get from the left over ink. I started out with a piece of coloured/patterned paper - a beautiful clouded green paper from my stash, below. Using a coloured/patterned paper as a base gives a whole new look to the finished design. I used the Leaf Bed stencil and a combination of Green Opal and Green Onyx Crisp Dye Inks (from the Jewel Tones Crisp Dye Ink Set) to make a beautiful deep background paper.


Before wiping the ink off the stencil, I spritzed it with water and placed a piece of watercolour paper over it, pressing down well to pick up the wet ink. You can see the background on the left and the stencil print on the right. 

I made the first card with the dark green background and the Build-A-Flower Honeysuckle Stamp and Die set, with the inks shown in the picture below.


I love these soft peachy tones against the dark background. I cut a few leaves from metallic gold card to add a little shine and mounted the flowers on some foam tape. I completed the card with a foiled sentiment from the Spellbinders Hot Foil Glimmer Place Everyday II set and some gold gems from Little Things from Lucy's Cards.

Card Two


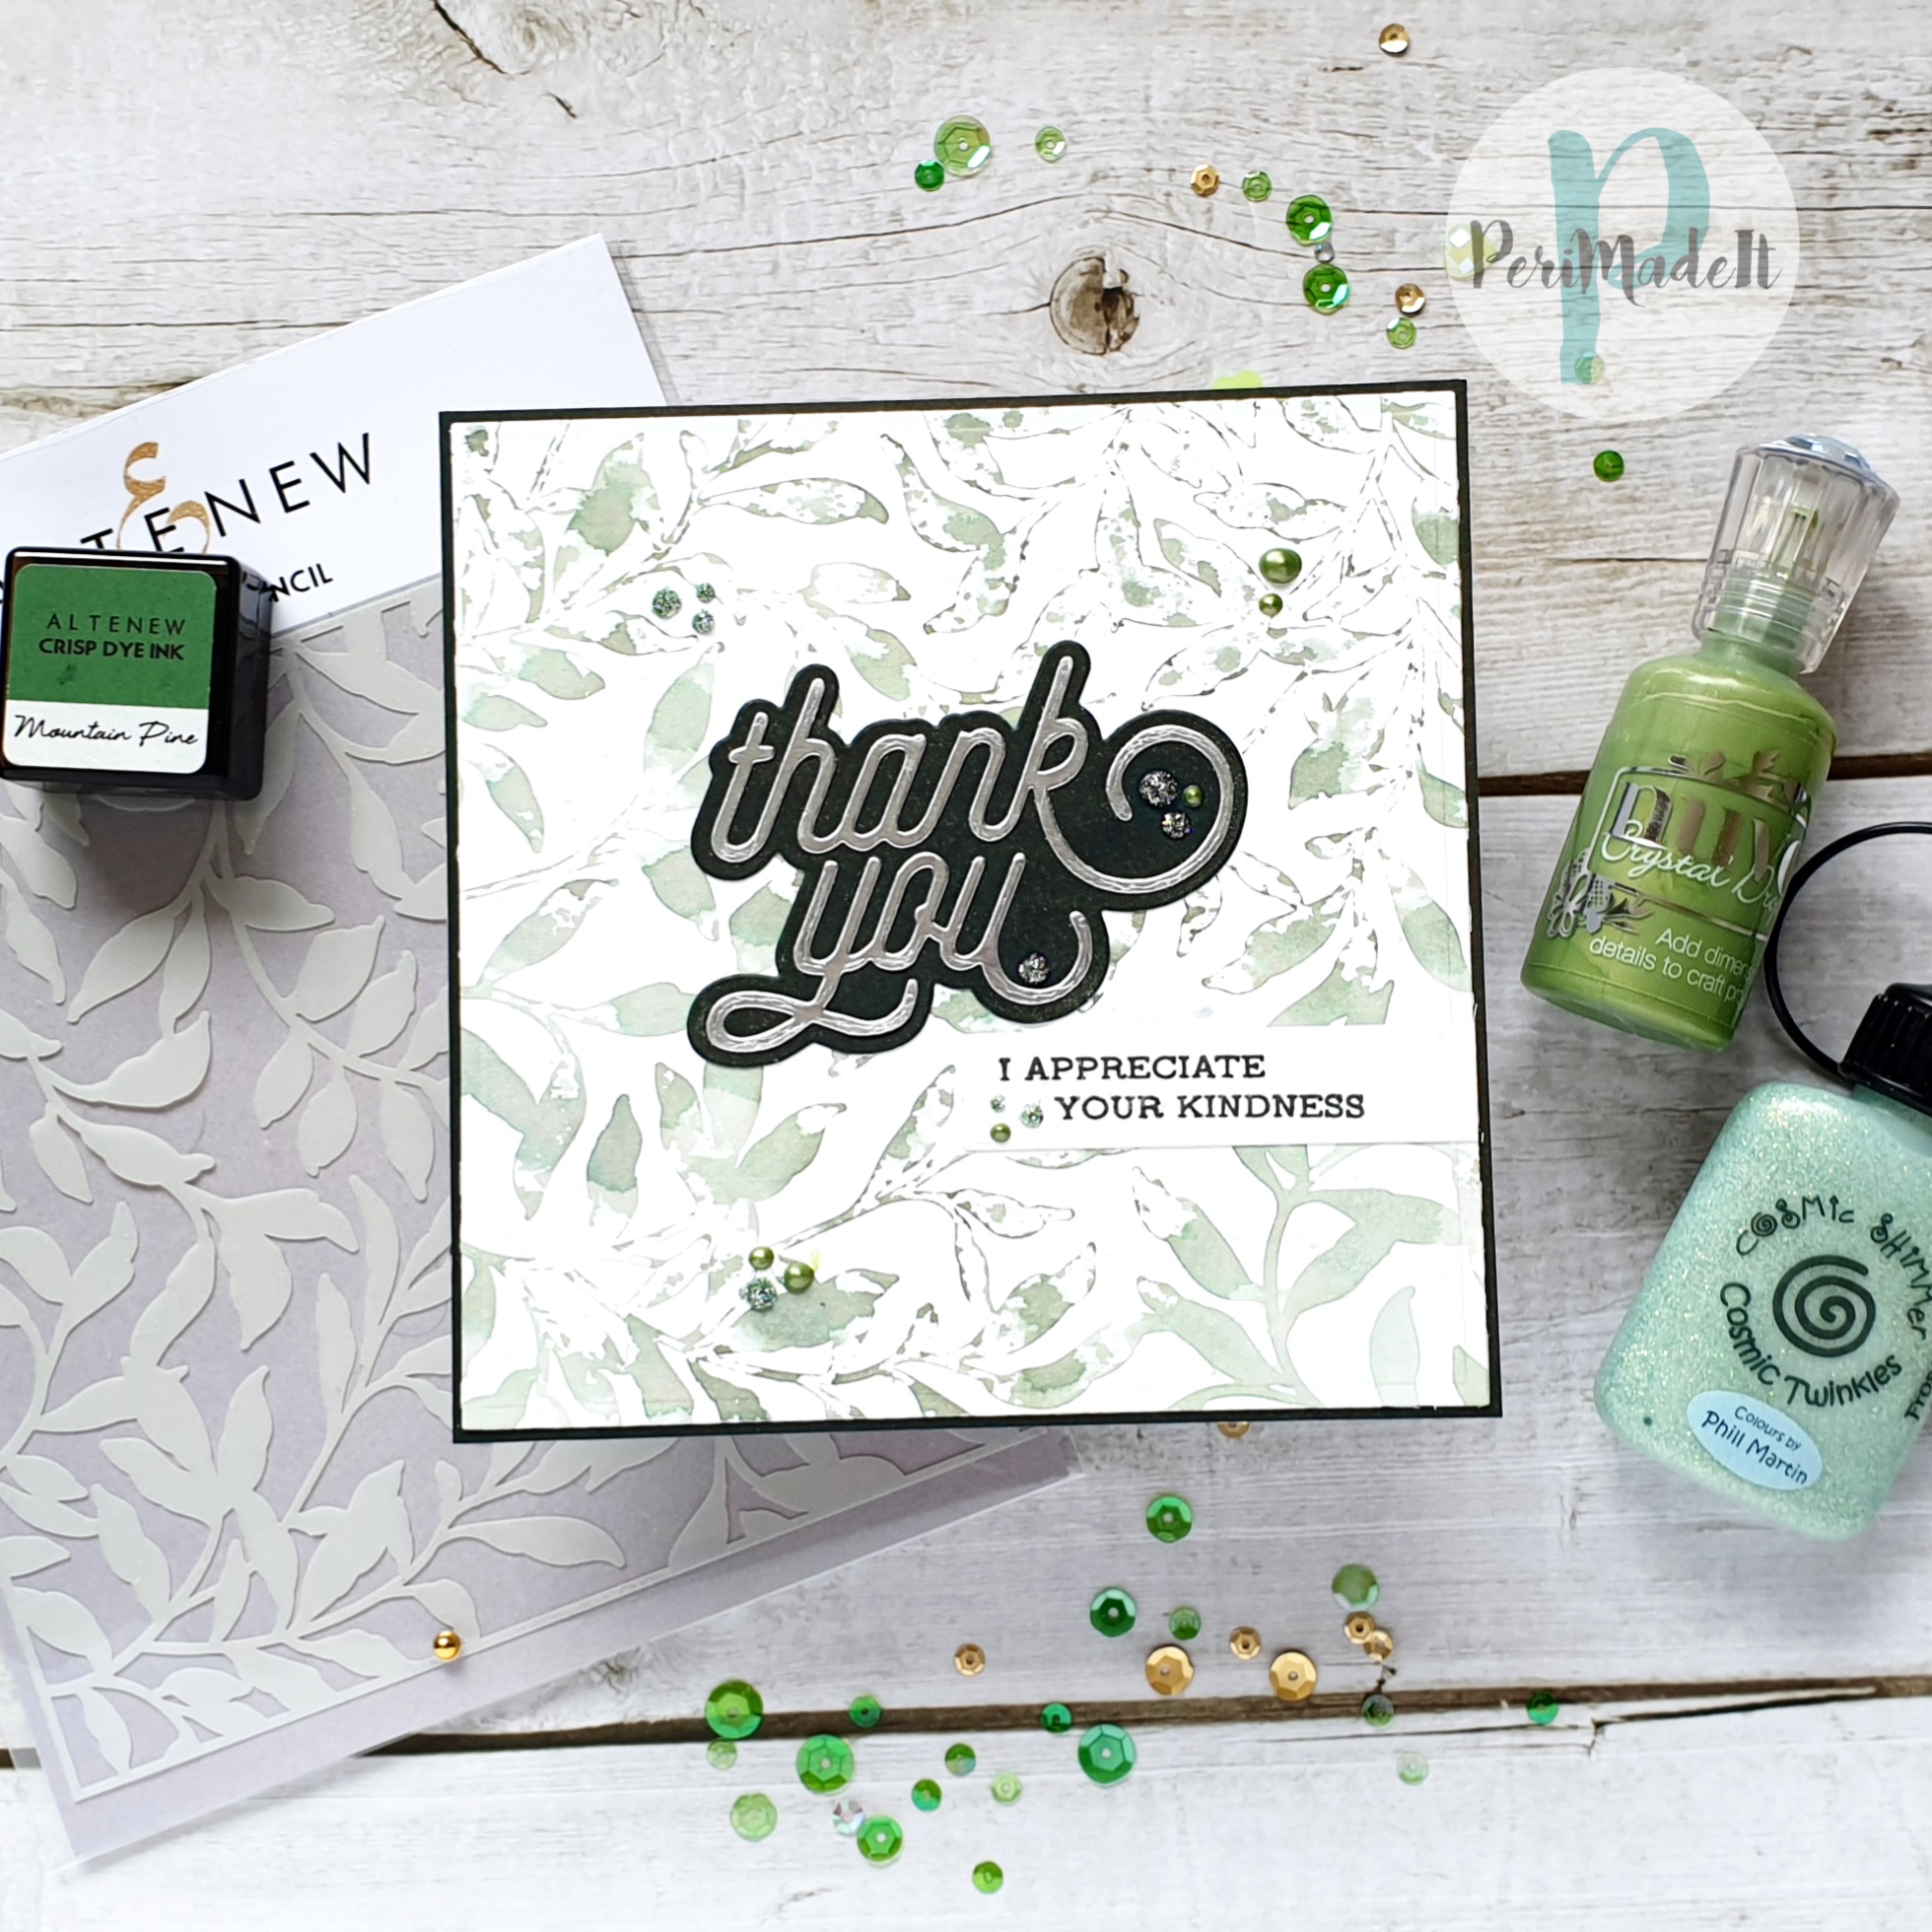
This card is completely different and uses the stencil print I took at the end of creating the background for card one above.


I think the print turned out well and makes a beautiful and subtle background for this card. I used the CZ Design Swoopy Thank You die set for the sentiment and coloured a piece of card with Green Onyx ink to cut for the background. I finished with some dots of Cosmic Twinkles and Nuvo Crystals.

The sentiment is from the Sentiment Strips 2 set but the original sentiment was too long for where I wanted to place it on the card. I tried stamping it and cutting it up, but it looked odd as the spacing didn't work. So I stamped it in two parts by covering the part I didn't want to stamp with washi tape, inking up the remainder, removing the tape and then stamping the inked words - I did this twice to achieve the sentiment on the card.

Card Three


Of course, I couldn't stop there. I wanted to see what the result would be if I intentionally inked up a stencil to take a print so I used one layer of the Deco Diamonds stencil and inked it up with Hickory Smoke, Faded Jeans and Tumbled Glass Distress Inks, to create a sort of ombre effect, then laid over a piece of watercolour paper (for the thickness and softness of the paper, rather than its water-absorbing properties) and ran the whole thing through my Spellbinders Platinum. The end result was a dry embossed and printed background, perfect for a masculine card. What you can't see in the photograph, unfortunately, is the embossing - it really gives a lovely texture.


I used a sentiment from the Note for You stamp set and stamped it in dark blue, to coordinate with the background. I don't know where the die is from, I'm afraid - it has been in my stash for sooo many years.

The effect is quite watercolour-ish, because I used Distress Inks, which don't lie on the surface of the stencil as opaque colour. 

Cards Four and Five


For the next example, I used Distress Oxide inks, and you will see how well they stick to the stencil and what a vibrant print they give. 

I chose the Henna Square stencil and Wilted Violet, Salty Ocean, Mowed Lawn, Fossilised Amber, Carved Pumpkin and Picked Raspberry Distress Oxide inks. After inking up the stencil, directly with the ink pads, I placed a piece of Neenah 80lb paper over to pull the print. This time, I simply rubbed over the back of the paper to pick up the ink and it worked remarkably well:


As there was still plenty of ink left on the stencil after taking the first print, I spritzed with water and lifted another print, which was a beautiful, pale copy of the first.

And, just to make the most of all the ink I had used, I also spritzed the ink left on my mat and ink and blotted it up with a spare piece of watercolour paper, which I will keep to use in a future card.

The boldness of the initial print was stunning but I wasn't sure how best to use it. Then it came to me - much like the original stencil has cut away bits, why didn't I cut away some of the white space to emulate this? So that's what I did:


The gold 'birthday' is the Let's Have a Word: Birthday die from The Greetery and the subsentiment is from Sentiment Strips 2. I think cutting away some of the white and mounting it all on foam pads gives a whole new look to the finished print. A few gold gems finished it off. 

The pale 'shadow print' needed something much softer, which is not my usual style at all. So, I used the Beauty Within stamp set and stamped this in Faded Jeans Distress Ink. I stamped it several times, so that I could use elements to cut out and mount on foam pads, to give a 3D effect. I took my water brush and used the ink in the image to pull some pale colour into various parts of the flowers. I then cut and mounted the extra flowers and was quite pleased with the gently coloured outcome:


I used the largest die from The Greetery's Nordic Frame die set to trim down the background panel and give some interest around the edge. The panel is mounted onto gold card (not much shine in the photograph, I'm afraid) and then onto a pretty pale pink card from my stash, to complement the pastel colours in the background print. I added just a few sparkles to finish.

Of course, I couldn't resist using the stencil in the traditional way, just to show you how it looks against the other examples:


Three very different results from one stencil - what a great technique!

I will definitely use this technique again. It is great for subtle backgrounds and allows you to actually use the negative of the stencil in a creative way. 

Thank you for spending time here, Peeps, your support is much appreciated. 

Until next time, keep crafting.


Supplies:

Please note that some of the links below are affiliate links and if you follow them and make a purchase I might receive a small commission, at no additional cost to you. This helps to support my blog. 


br />


01 August 2021

AECP2 – Magical Marker Techniques

Hi there, Crafty Peeps, it’s so nice to see you here.

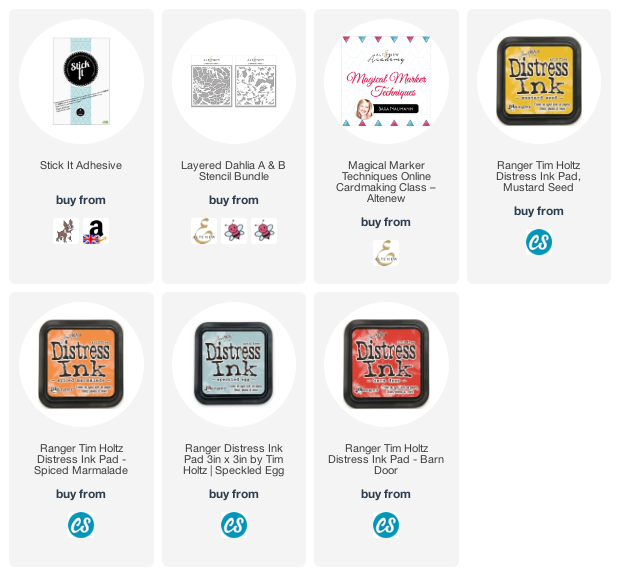
This week’s post is another AECP submission – my penultimate Level 2 offering – and this is for the 'Magical Marker Techniques' class led by Sarah Naumann. I have been using alcohol markers for colouring for many years now (still learning, every time) but this class introduced me to techniques I’d never tried before. My submission today is inspired by the technique demonstrated in lesson 1, using alcohol markers on metal. As always, there will be a list of supplies used at the bottom of this post.

I knew I had some pewter sheet in my stash, but I didn’t want to use it for this technique as it is (1) quite heavy for a card front and (2) quite expensive! So what to do, without buying yet more supplies? Then I had an idea. I cut a piece of thinnish cardstock (only about 200 gsm/80lb weight) to 12.5 x 17.5 cm 9 (5” x 7”) and pressed it onto a sheet of Stick It adhesive, burnishing it well to the adhesive by running my bone folder over the release sheet a few times. I took a piece of aluminium cooking foil (any reasonably sturdy foil sheet will do), slightly larger than the piece of cardstock, removed the release sheet from the adhesive and gently laid the foil on top, making sure that the foil had no creases and was contacting well with the adhesive. 

Tip

Take care when pressing down onto the adhesive – the foil can mark or tear quite easily. I popped the release paper back on top of the foil and checked that my hands were clean before gently but firmly rubbing over the top to help the adhesion. 

I trimmed the foil down to the size of the cardstock and this gave me a piece of metal foil on which to work.

I took the 'Dahlia Stencil Layer A' from the 'Layered Dahlia A & B Stencil Bundle' (you can buy the stencils separately, if you prefer) and placed this over the metal foil, securing with some tape on the top only. I ran this through my die cutting machine with the embossing plates (and some shims, to get the result I wanted). This gave me a slightly raised pattern on which to use my alcohol markers.

Keeping the stencil taped in place, I flipped it up and got to work on the colouring. Alcohol markers don’t cover smoothly on metal and you will see the brush strokes at this stage. Don’t worry, though, this won’t affect the final result.

I coloured the blooms and leaves with two colours of marker each, and filled in the ‘empty’ space with pale blue. Although it is better to use strong colours for this technique, this pale blue does offer a little colour rather than leaving these spaces silver. This is how the panel looked at this point, with the stencil flipped back down over the coloured metal.

Next comes the exciting bit. With the stencil in place over the coloured panel, I used a fine spray of isopropyl alcohol over the whole piece. A few seconds elapsed when I thought maybe it hadn’t worked then suddenly…the colour broke up into the most beautiful little pools. 

I removed the stencil and let the panel dry for a few minutes before trimming the edges down. However, they still looked a little ragged (the downside of using foil and not metal sheet) so I cut a frame from white cardstock and used this to cover the edges of the panel for neatness. I didn't photograph at this stage, unfortunately, but this is what the panel looked like without the border:

I wasn’t sure how to make this background into a card but my OH suggested that I use some watercolour to mimic the effect on paper. I smushed some Distress Ink colours ('Mustard Seed', 'Spiced Marmalade', 'Speckled Egg' and 'Barn Door') onto a silicone mat and picked them up with my water brush, using a wet-on-wet technique to apply colour to the edges of a square of watercolour paper. To finish I used the end my Altenew 'Pure White Ink Spray' applicator tube to apply some white splatter.

I popped up the coloured panel on some craft foam and added it to the watercoloured panel before applying this to a 17 cm (6.5”) square card blank.

This is an amazing technique and the results are really interesting. Why not give it a try and post your results to the Altenew Fan Group Facebook page? Not a member yet? I can recommend it – there are some very talented Altenewers and some amazing cards.

I hope you have enjoyed this post – why not leave a comment to let me know you’ve visited?

 Until next time, stay safe and keep crafting.


Supplies:

Please note that some of the links below are affiliate links and if you follow them and make a purchase I might receive a small commission, at no additional cost to you. This helps to support my blog. 

27 June 2021

A Bit more Blom

 Hello, Crafty Peeps, and thank you for dropping by. 

Today I'm delighted to show you several cards made with digital stamps from Angie Blom Digital Designs. As you know, I love a digital stamp as they can be used at any size you wish, which is a great advantage over rubber or clear stamps. Angie's designs are super - I particularly like her ladies and gentlemen. 

Card One

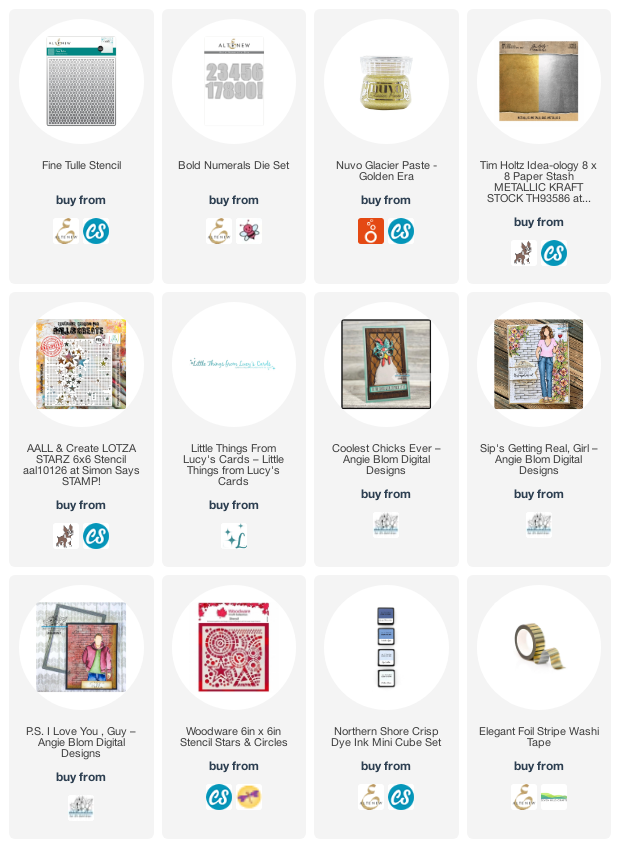
The first card today was for a 15-year old boy's birthday and uses 'PS I Love You Guy', a cool, modern dude who comes with a couple of sentiments and a variety of multi-image ready-to-print layouts as well as the single image I used here. I used a cool stencil - 'Stars and Circles' from Woodware - for the background, inked onto pale blue cardstock with  Altenew inks from the 'Northern Shore' Mini Inks collection. I coloured him up with Copic markers before fussy cutting him out  and popping him up on some foam tape. I also used some Altenew 'Elegant Foil Stripe' washi tape for a little masculine glamour.


The sentiment is from MFT Stamps 'Sassy Pants Birthday Greetings' set.

Card Two

The second card was for a friend's 50th birthday, using the 'Sip's Getting Real' image. If you're a member of Angie's fan group on Facebook, you will have seen my dilemma about whether or not to colour the image. I decided that I would and this is the result. However, I didn't simply colour her on the one layer card - I decided that she needed to be 'above' the background and so I printed and coloured an additional copy and fussy cut and mounted her on foam.


The background was coloured with Distress Inks in 'Squeezed Lemonade', with 'Kitch Flamingo' and 'Tumbled Glass' applied through Altenew's 'Fine Tulle' stencil at the top and bottom - you can't see this very well in the photograph as the colour was subtle. Then I applied Nuvo Glacier Paste in 'Golden Era' through Aall & Create's 'Lotza Starz' stencil. The stencil is 6" x 6" square, and my card was a large slimline so I had to extend the pattern by moving the stencil down the card front and adding more paste.

I cut the number 50 with Altenew's 'Bold Numerals' die set - three times in white and once in gold (Idea-Ology Tim Holtz Metallic), layering them for dimension. 

There was already so much on the front of the card that I didn't know where I might put a sentiment so as not to upset the balance. So I left off the sentiment and I think this was the right decision. 

Card Three

My third card is one of several I have made using the 'Coolest Chicks Ever' set, which is a set I use often. 


I used Newton's Nook 'Tumbling Hearts' stencil and Nuvo and Lawn Fawn inks to ink the two backgrounds. 


I coloured the image with a selection of Copic markers and used my Prismacolor pencils to add a little more depth here and ther. 


I added some sequins (of course) from Little Things From Lucy's Cards. I printed the sentiment as I had a firm idea what I needed. 

This is a simple card, no fancy techniques, but I love it. 

So there we are, a bit more Blom. Take a look at Angie's site here - if you're into digital stamping, I'm sure you will find lots to inspire you. 

Until next time, keep crafting.


Supplies:

Please note that some of the links below are affiliate links and if you follow them and make a purchase I might receive a small commission, at no additional cost to you. This helps to support my blog. 

24 May 2021

AECP 2 - Colour My Day

Hello Crafty Peeps, lovely to see you again. 

Today I''m on the AECP trail, with my submission for the class 'Color My Day', led by the very talented Therese Calvird, one of my favourite cardmakers. In this class Therese demonstrates how to choose and combine colours to give some interest to your cards and I have chosen to base my submission on lesson 2, 'Color Wheel'. 

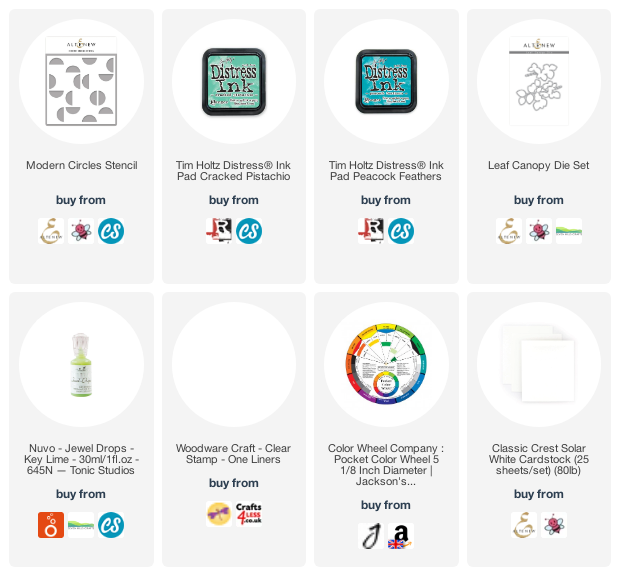
I love colour and am not shy about using bold, bright and even clashing colours together on a card. But sometimes it pays to refresh some colour theory and so a colour wheel really comes in useful. They are readily available at most artist's supplies shops, but I bought mine from Amazon (link below). I particularly like the one I have as it is annotated with full instructions about using it, so there's no need for separate notes.

For my card, I wanted to use analogous colours, which are colours adjacent to each other on the wheel. I turned the wheel so that the arrow pointed to blue-green and chose yellow-green as my second colour.  This has to be one of my favourite combinations and one that I use often in my cardmaking. 

Here is the card I came up with, bold and bright and gender neutral. I used Altenew's Modern Circles stencil, which I inked with Cracked Pistachio and Peacock Feathers Distress Inks, on a 15cm (6") square of Nina Classic Crest Solar White 110lb paper. The resulting pattern is very simple but very effective. To complement it, I cut a circle from the square and then used two circle nesting dies to cut a frame for the opening. 

I lined up the square over the top of a 15cm square card base and drew a faint pencil line on the inside of the circle. Having removed the square I then lightly drew a freehand circle about 0.5cm (1/4") outside the one I had marked and then erased the inner line. I used Altenew Limeade ink to colour the card blank inside the pencilled line, swiping the cube straight to the cardstock.

I cut some fun foam to just smaller than a 15cm square and marked the position of the circle, which I cut away. I used the fun foam to give dimension when mounting the square onto the card base.

Using  Altenew's Leaf Canopy die set, I cut two sprigs of leaves from two shades of blue/blue-green mirror card and mounted these on the left of the circle, allowing them to overhang a little to cast a shadow on the background.

The sentiment is from Woodware's One Liners stamp set - a label style stamp set - which I stamped with black ink on white cardstock and added across the aperture. 

Rather than add sequins or gems, I used some Key Lime Nuvo Jewel Drops to add a little extra shine. To finish, I made a matching envelope and scored the flap for a little texture. 

My next AECP post will also deal with colour, its effect on mood and how that can be used to advantage in your cardmaking - it's fascinating.

 Until next time, keep crafting.


Supplies:

Please note that some of the links below are affiliate links and if you follow them and make a purchase I might receive a small commission, at no additional cost to you. This helps to support my blog. 

13 May 2021

Support for Mental Health Awareness Week, 10-16 May 2021

Hi there, Crafty Peeps, and, as always, a warm welcome to my little place on the web. This week in the UK is Mental Health Awareness Week so I thought I would make a card with this in mind. 

I know that a lot of crafters use their craft, whatever that may be, to help them deal with their mental health challenges and making cards often fills that role for me too. I find that having something creative to focus on when life feels out of control really helps to get me through the bad days. Like many of you out there, this past 15 or so months have not been easy: shielding and isolating have not been easy and other life events along the way have really added to my own mental health challenges. At times I stepped away entirely from creating as my 'mojo' ran for cover, and yet at others I found myself really inspired and almost overwhelmed with creative drive.  Things have evened out a little now and I'm back 'in the driving seat'; the bad days are fewer and my focus is better and I shall always be grateful for the support and encouragement of family, friends and the crafting community.

In colour psychology, blue is seen as the colour of calmness and serenity. It is often described as peaceful and tranquil, and is often seen as a sign of stability and reliability. Therefore, I thought this would be a perfect colour for this card. 


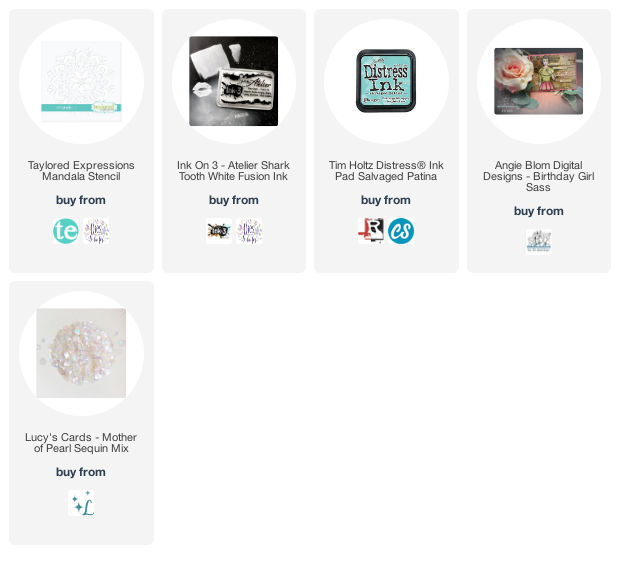
I used The Stamp Market's pale blue card as a background and the new Tim Holtz ink colour, Salvaged Patina, as a starting point. To create the background I used a mandala stencil from Taylored Expressions and inked it first in Salvaged Patina Distress Ink. I then moved the stencil just a little upwards and inked again with white fusion ink from Ink On 3's Atelier range. This softened the blue ink but allowed a little shadow to form, which gave a feeling of depth to the background. (A list of all the things I used is at the bottom of this post.)


The image is from Angie Blom Digital Designs, and is called 'Birthday Girl Sass'. However, this is quite a demure image and the touching of hand to heart seemed to sum up the sentiment well. I paper-pieced her dress and coloured the rest with Copic markers. I also used Copic BG11 to colour a piece of white cardstock to co-ordinate with the card and used this to stamp my sentiment, which is from The Stamp Market's 'More Modern Messages' stamp set. 


The little mother of pearl discs are from my stash, but you can find similar sequins at Lucy's Cards. 

This will be a perfect card to send to anyone who is struggling, to let them know that we are thinking of them. It shouldn't be too much longer before we can give them a hug in person, and I can't wait.

I'm going to enter this card in the following challenges:


Until next time, stay safe, be happy, and keep crafting.


Supplies:

Please note that some of the links below are affiliate links and if you follow them and make a purchase I might receive a small commission, at no additional cost to you. This helps to support my blog. 
02 January 2021

Welcome to 2021!

Hello Crafty Peeps! We made it - it's 2021 and my wish is that you all stay healthy and happy this year. 

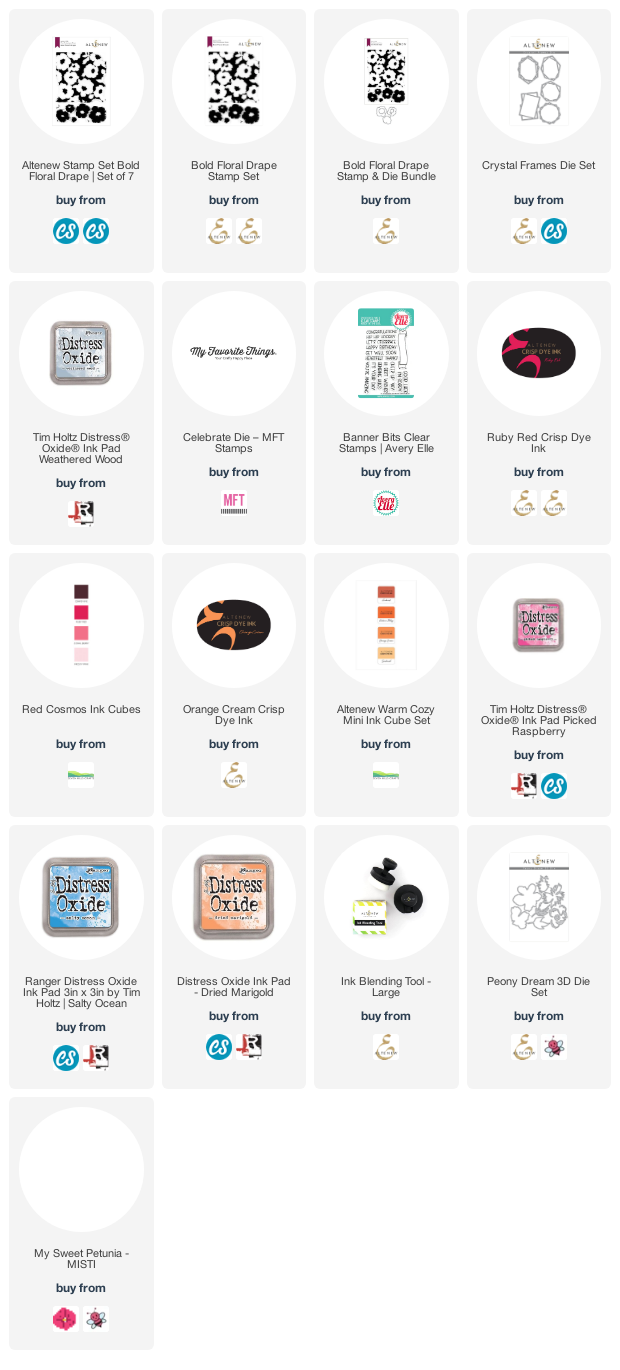
I took a break from crafting over the holiday season - I packed all my stuff away (honest, I did - all of it!) and haven't yet made a card this year. However, just before Christmas I made a set of three cards using Altenew's Bold Floral Drape stamp set, which I'll show you today. All the supplies are linked below. 

This stamp set is great for backgrounds but also has individual solid flowers that can either be used to fill in the flowers of the background stamp or as separate single flowers. I have to admit that I didn't set out to make the three cards at all. I was stamping the large stamp for the first time and used a neutral grey (Distress Oxide Weathered Wood) just to see the stamped image. I hadn't inked the stamp particularly thoroughly, nor had I conditioned the stamp in any way, so the result was a little patchy and I liked it so much that I repeated it! 

Card One


This is quite a simple card (for me, at least!). The sentiment is one of my own, printed on a laser printer and foiled through a laminator. I shall make more of these, I think - love having foiled greetings to hand.


I chose some gold mirror card to cut a frame from the Altenew Crystal Frames die set and mounted it all onto a grey card base. I like gold and silver together - I like the warmth that the gold gives.


I made an envelope from some matt silver paper and a few clear sequins finished off the card. 

I was inspired by this card to 'ramp up' the design so I made the second card below.

Card Two
For the second card I mounted the background onto grey card, as before, and added some colour by stamping a few of the separate flower images in Altenew Ruby Red and Orange Cream inks. I haven't yet got the co-ordinating die set so I fussy cut the flowers out. 

I rifled through my dies and found this MFT Celebrate die, which I cut from silver card and twice more from red card. I stacked the sentiment die cuts, very slightly offsetting the silver layer so that a touch of the red card could be seen, to pick up the red from the flowers. 


I played around with the layout until I was happy with my placement and then added a few orange sequins from my stash to compliment the orange flowers. 


I was really pleased with this 'amped up' version. You could use all sorts of colours for the separate flowers, and you could make the background more or less vibrant...which leads me to the final card.

Card Three
I wondered what the background would look like stamped in a really vibrant colour, with the separate flower stamps used to fill in the white spaces. I also wondered whether the background stamp would lend itself to being extended, to fill a slimline card, for example. So, with the help of my trusty MISTI, a bit of jiggling around and practice stamping, I managed to get the result I was looking for:


This stamp set is not a neat and tidy set - its charm is in its fluid design - so the flowers don't completely match the empty spaces. I used Distress Oxide Salty Ocean for the bold blue background layer, and Dried Marigold and Picked Raspberry for the beautiful accent flowers. I chose card from my stash to cut the Peony Dream 3D flowers, which I love, and stacked these towards the top third of my card. 


The foiled sentiment is another of my own.


I made a matching envelope and, just for a little extra, I added a scrap from the patterned piece to the front of it. 


And here they are together, simple, amped up and WOW! It just goes to show, though, what you can achieve with the same stamp set, and I'm delighted with the results. 

So, until next time, my crafty friends, stay safe, stay well and keep crafting. 

Peri x

Supplies:
Some of the links below are affiliate links. If you click through and make a purchase, I receive a small commission, at no extra cost to you. This helps towards maintaining my blog. Thank you for your support.