
As a reminder, the first part of the final challenge was to create four masculine cards for various occasions throughout the year and this is the second part - to repurpose/recycle or alter.
Upcycled/Repurposed Item
Our house is full of potential repurposing things and I often repurpose boxes into pretty gift boxes, particularly at Christmas as it is always wonderful to give and receive a beautifully presented gift, don’t you think? But I chose to recycle the case of an old, much-loved but damaged CD.

This is a desk calendar – ‘A Year of Flowers’ – and it sits in the CD case beautifully.
I measured the inside of the CD lid, which came to 12 cm x 14 cm, so I wanted my pages to be 11.8 cm x 13.8 cm, so that I had a little wriggle room when sliding them in and out of the lid. In order not to waste paper, I set up two calendar pages on one sheet of paper and made sure that I was consistent with placement, headings, fonts, etc., throughout.
You can see how the pages were set out in this screenshot.

Once I was happy I printed the pages onto Make It Colour card – it is so smooth and I love how it takes ink and markers and pencils.
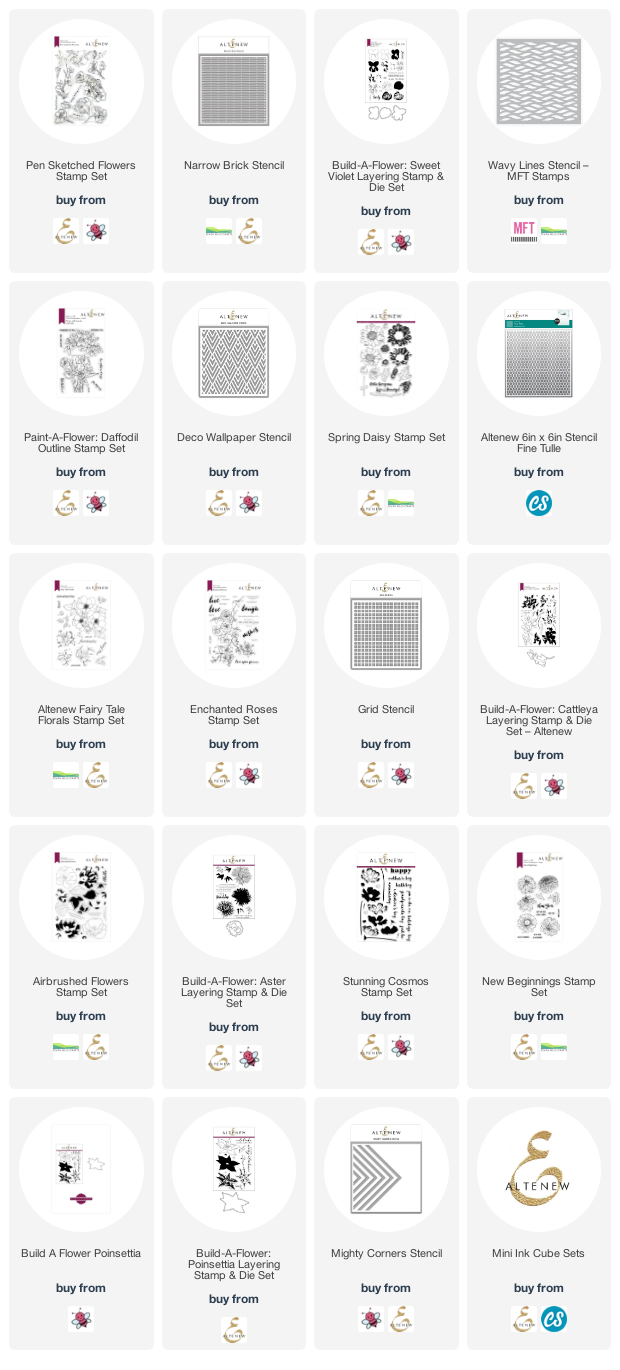
In order to deliver a year of flowers, Mr Google and I worked at finding a list of birth month flowers and came up with the following (plus a note of the stamp sets and stencils used for each page):
I had some of these flower stamps already and some that could masquerade as others, so I pulled them all out of my stash and got to work. December didn't get her holly, tho!
I also chose several of my stencils, as I knew I
would need them for background interest. I tried to choose quite geometric
patterns as a foil to the softness and prettiness of the flowers, as I didn’t
want the pages to look too fussy. I also pulled out my roll of Judikins masking
paper, as I could tell there was lots of masking ahead! And I think this shows my dedication to fussy cutting!

I cut an oblong mask to mask the calendar part of the page, as I didn’t want any colour over this. Then I stamped around the page, masking where necessary, and masking everything before stencilling the background.
Once done, I added colour to the flowers in a combination of layers of the layering stamp, Copic markers and coloured pencils.
There’s a little photo-story below of making one of the pages, so that you can see my process:
- mask the month
- stamp and mask the flowers
- stencil over masked page
- remove stencil and all masks to reveal finished page.

Tip:
Even if you are using a layering stamp set, you can add extra depth and detail with your favourite colouring medium. I used Prismacolor pencils over some of my final images to strengthen the shadows or deepen a colour I felt was a little too light. You can see the difference this has made in the Sweet Violet images - check the page above then see the page below, where I have used coloured pencils to add further depth and colour to the stamped image.
And here are the final calendar pages.


As always, a list of all the products I have used (where still available) is below.
Until next time, keep crafting.
Please note that some of the links below are affiliate links and if you follow them and make a purchase I might receive a small commission, at no additional cost to you. This helps to support my blog.
I love this Peri! Great idea instead of throwing the case away and the images are so beautifully stamped and coloured. Nice tough with the quotes too - honestly, the whole things leaves you wanting to see the next one! What a lovely way to start each month! Well done you.
ReplyDeleteThank you for your thoughtful comments, Niki x
DeleteTHIS IS AMAZEBALLS!!! I love it! This looks so good and I am amazed at all the hard work you have put into this. TOP JOB! Bravo! You aced your Level 2 Final Challenge.
ReplyDeleteThank you, Erum! x
ReplyDelete