Today, I've chosen to showcase my take on on lesson 3, Majestic Bloom, in which Marika shows us how to use another colouring medium on top of a layered stamp for some extra depth and detail.
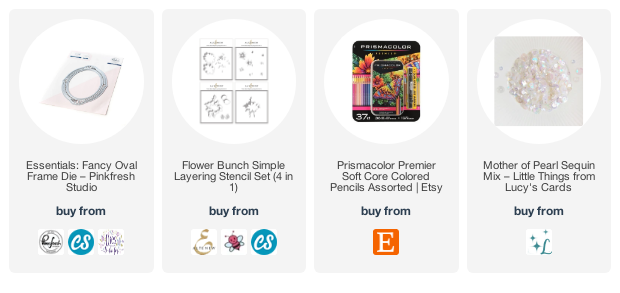
For this card I have used the Flower Bunch Simple Layering Stencil Set, which initially I coloured with Altenew inks (unfortunately, I forgot to make a note of which inks I used). Then I took my Prismacolor pencils and brought some depth into the image by adding darker shades on top of the inked flowers and leaves, and a little highlight with a white pencil. I also coloured the area around the bouquet with blue pencil and white spirit (Gamsol) to soften and blend colour.
Once I was happy with the image I cut it with Pinkfresh Studio's Fancy Oval Frame die, which resulted in a separate outer frame and an inner oval. I also cut several extra frames from some pearlised card, plus three from white card, and an additional 6" x 6" card panel from white linen effect card, all from my stash.
I placed the oval image piece in position on the extra card panel and drew around it lightly with a pencil. I removed the image then cut out the oval with scissors, cutting just outside the pencilled line. This meant that once the coloured frame was on the card, the edge of the central oval was covered. Then I held this cut panel against the card front and once again drew very lightly around the inside of the oval so that I could see where to glue the coloured oval to the card front. I adhered the image directly to the card front - no dimension needed as that would be provided by the card panel and frame.
I completed the frame by gluing and stacking together the three plain white frame die cuts and then added the coloured frame on top, for dimension. I set this aside, under a heavy book, to dry thoroughly and flat (about 30 minutes).
Meanwhile, I put together the additional card panel. I glued the pearlised frames around the panel, hanging them off the edge and trimming them to fit. Their slightly creamy colour lends a little contrast to the card background. I attached the panel to the card front with foam tape and then adhered the coloured frame on top of that.
Obviously, there were sequins from Lucy's Cards, and a sentiment that I printed and foiled with my laminator.
I hope you enjoyed this post - it feels good to be back on track with the AECP classes.
Until next time, keep crafting.
Supplies:
Please note that some of the links below are affiliate links and if you follow them and make a purchase I might receive a small commission, at no additional cost to you. This helps to support my blog.


Oh my goodness! I am swooning over this card! It is stunning!
ReplyDeleteThank you, Kim, that's such a lovely comment. X
ReplyDeleteDUDEEEE!!! So good!! And you are not going to believe that I recently used the same stencil and also additional things to enhance the look but of course I did not do all this frame,cute,adhere work... that would drive me a little mental :D Your card turned out gorgeous. You did a fabulous job! Thank you for submitting your work to the AECP assignment gallery.
ReplyDeleteThank you Erum - such a fun response. I'm glad to be back on track. x
DeleteSTUNNING card!
ReplyDeleteMost beautiful card
ReplyDelete