Hello Crafty Peeps - I hope you are all safe and well, and thank you for visiting.
If you've visited before, you will know that I recently passed Level 1 of the Altenew Educator Certification Program. I was delighted to have completed the first level, which means that I can now move forward to Level 2, a further 10 classes, each with between four and six lessons, and a final project for qualification.
I thought I'd kick off with Beyond Basic Backgrounds, a fun six-lesson class taught by Lydia Evans, who explores and demonstrates different ways to produce interesting backgrounds that could also become the focus of your card.
For this class, I combined inspiration from lesson 2 (using a grid for a repeating pattern), lesson 4 (watercolour and wax resist) and lesson 5 (water bleaching). I cut my own stencil using a grid to line up hexagon die cuts, and cutting between these shapes with a ruler and knife to complete the pattern.
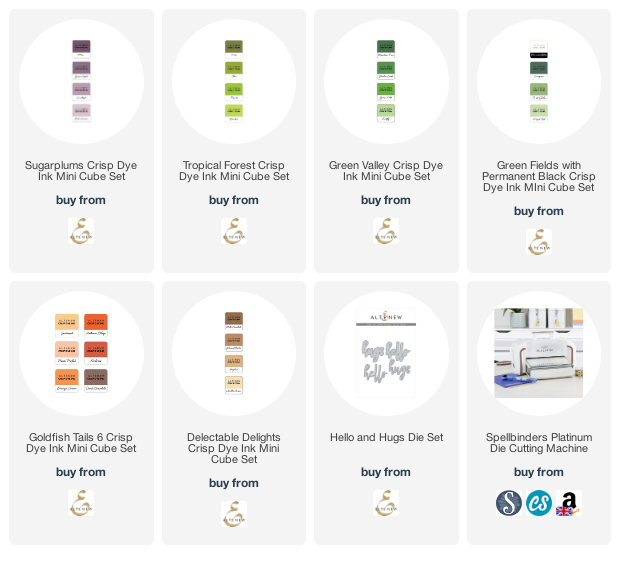
I applied some repositionable adhesive to the stencil and then attached it to a piece of Bristol Board. I used some Altenew Crisp Dye Ink mini cube inks as watercolours, by smooshing the pad onto an acrylic block and picking up the colour with a water brush. I used plenty of water to get a good blend and went to town with lots of colours from my various green and brown sets, until I had the effect I wanted. Then I used some clean water to drip/splatter the background to create bleached areas. By this time the stencil was pretty wet and some of the wet colour crept under, but it didn't bother me too much as it added to the overall feel of the background.
I removed the stencil and then used my metallic paints to spatter a little silver (which looks more blue than silver!) and gold, and then dried everything thoroughly with my heat gun. There was a little warping, but not as much as I had expected, so I placed the piece between clean copy paper and ran it through my Spellbinders Platinum, using the metal shim to make sure sufficient pressure was applied, and this flattened things out nicely. I left it all for 24 hours, too, before making it into a card.
The next day I mounted the background onto a 300gsm A6 card blank. I wanted there to be a little texture to the card, but nothing that would detract from the overall look, so I took some parchment and cut four small hexagons, which I placed over four of the 'cells' in the background. This diffused the colour but allowed it still to be seen. As I looked at the card the word 'connection' came to mind - I think because of the cell-like structure created by the white lines, so I added a couple of narrow gold mirror card strips to the cells with the parchment, to connect them to each other. Then I cut the 'hello' from the Hello and Hugs die set, twice from white card and once from gold mirror card, glued and stacked them and placed the finished word to the right of centre. I thought 'hello' was the perfect start of any connection.
There are, of course, sequins.
I hope you like it - I think, it's quite an unusual card, which shows that your backgrounds don't always have to be the 'supporting act'.
Stay safe and well, crafty peeps, and keep crafting.


The colors you chose for your background complement and blend together quite well. I am also in love with the stenciled pattern you created!
ReplyDeleteThis is lovely. I like the colours you chose and your background is brilliant.
ReplyDeleteVery professional. Beautiful colours blended so well.
ReplyDeleteThis is do beautiful !
ReplyDeleteAmazing Peri! Love the colours and the stencil.
ReplyDeleteLove this!
ReplyDeleteThank you all for your kind comments - so encouraging, and very much appreciated. Xxx
ReplyDeleteThis is so FAB!! Would make for an excellent guy card too! You worked really hard on this, creating your own stencil. WOW!
ReplyDeleteThank you for submitting your wonderful work to the AECP assignment gallery.
Thank you, Erum.
Delete